Brief Description: GIB Lighting and USB Charger #2
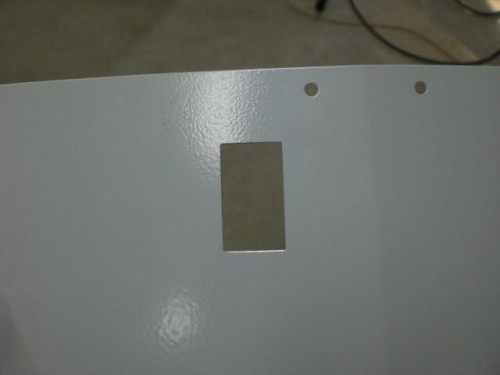
I got a good session in today. I knew what location I wanted to generally place the USB charger. I measured and took the cover on and off a couple times to be sure it would be a good location....you know measure twice, cut once! I marked the location and cut the opening to my new dimensions, deburred the hole and popped in the USB charger.
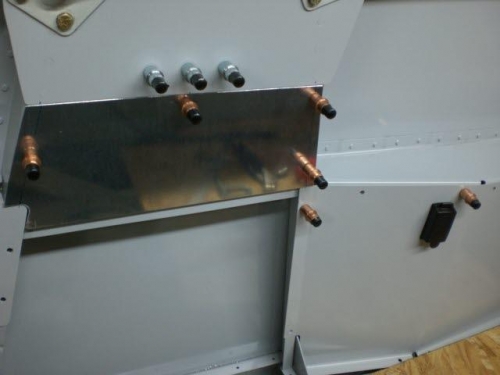
Next I played around again with the position for mounting the GIB light and dimmer switch. Sitting ini the airplane I finally decided on the location. It would involve making another panel for the side of the airplane under the the area where the roll bar attaches on the right side. Making a panel for that location will allow it to be out of the way, and it gives me a little more real estate to put in other things.
So I found some .04 aluminum sheet aluminum that I could use for the panel. I started my usual way by grabbing some posterboard to make a template. After getting the template to fit correctly I laid it on the aluminum sheet and marked the profile. I got the panel pretty much roughed out today and close enough to locate it and drilled the hole locations in the panel and match drilled them to the fuselage. I also made a tab to put a screw in the midway location of the upper edge.