Brief Description: Smart Glide Switch and AMP Bracket
I received the OFF-MOMENTARY switch in the other day so I decided to get it installed. I was rying to sneak it in a location where there were some items such as wire bundles that I was trying to avoid. I figured the location that seemed to work and drilled the hole.
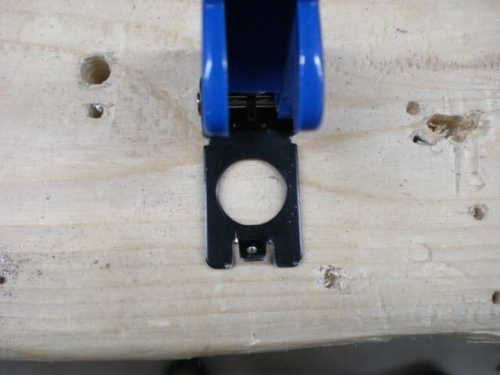
I modified the Smart Glide switch guard in order to be able to use a little copper wire safety wire to keep the guard down from being inadvertantly activated. I did the same thing for the RED autopilot disconnect. The copper safety wire is farily easy to break when pulling up on the guard. It should keep inquisitive fingers from passengers (especially younger ones) having one of those curiosity "Hey...what does this button do???" moments.
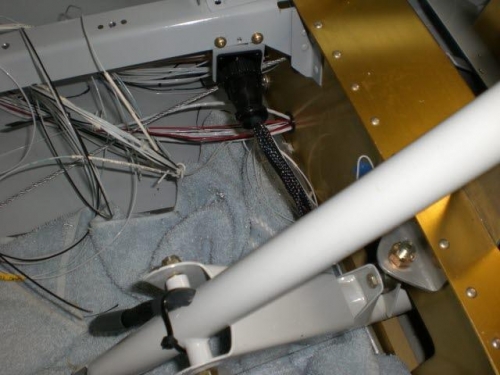
After getting the guard ready I prepped the wires and slid some anti-chafe protection on the wires and inserted the switch. It took a little bit of snaking it around some of the Bose bundle but I got it in there and tightened it in place.
I installed the bracket I made the other night for the AMP connector that will be used for the PIC stick wiring. Once again I needed to use screws because of the bin I made to fit under the area and it won't be able to be installed and removed without taking the bracket off.
Modified Switch Guard
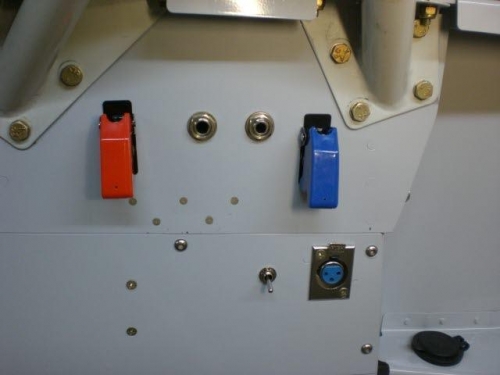
Smart Glide Switch(Blue) installed opposite of Autopilot Disconnect switch (Red)