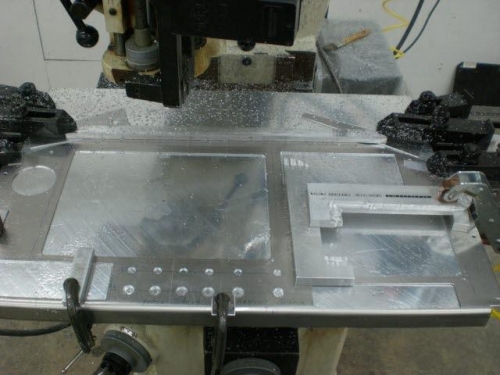
Brief Description: Prototype Panel - cutting switch and light holes
Tonight I cut the locations for the locations of the indicator lights and switches. As I mentioned earlier I was using a new programming function that I have not used before called a "subroutine" along with a "frame" to cut the switches. Using these I felt I could better utilize the machine capabilities as well as have less programming by using "canned" cycles. Anyway after numerous trials and many errors I got it all worked out and ready to go.
I cut the holes for the lights and the switches to a size for minimal clearance. The less clearance the less of a chance of loosening. The holes have less than .005 clearance in the hole. I believe the common practice is to drill the switch holes 1/2 inch whicn leaves almost .040 slop in the hole. I made them tighter and will not use the locking tab because everything should be tight enough to keep them in place with the lockwasher and nut.
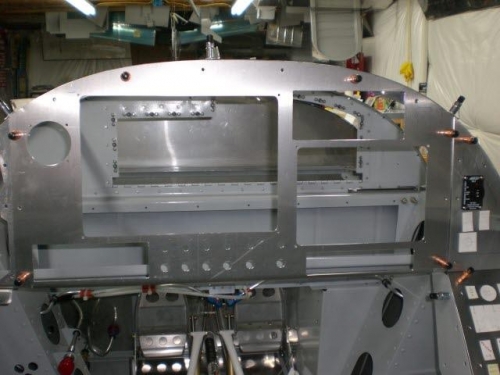
After cutting all the light and switch holes (which took less time than programming) I unclamped the panel from the plate and brought it inside for washing and deburring. Next we will fit the parts in and see how all goes with behind panel spacing and access.