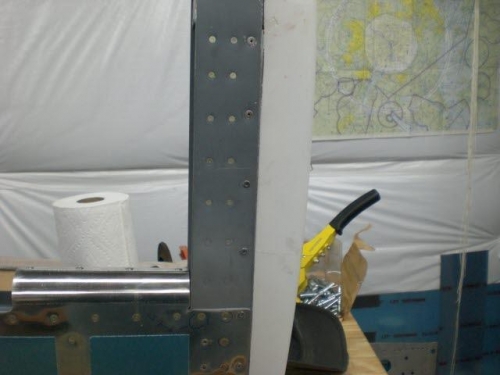
I had the holes in the fairing match drilled to #40 and fit the tip to my liking. I then opened up the holes to #30 and used the countersink to prep the holes for the rivet heads. I put installed the pop rivets next and the tip was officially installed.
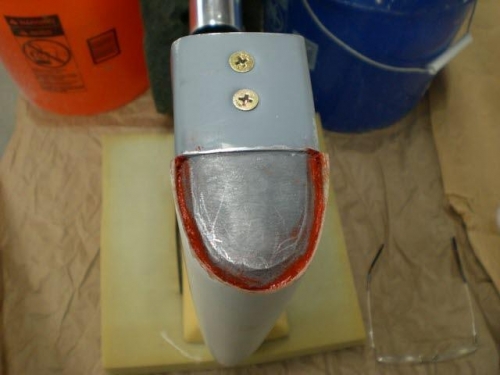
Next I figured I would prep the counterweight end to be finished with fiberglass. Fiberglass can't really be bent around corners, so you make a flat surface to lay the fiberglass on. The way it is done is you pour a 5 minute epoxy in the end to fill the gap around the lead counterweight and the fairing. The problem is that the fairing doesn't fit tight due to the fairing and the lead counterweight not being perfectly symmetrical. So Rick showed me to use some RTV to carefullly place in the bottom of the gap to be filled to keep the epoxy from leaking down the gap in the fairing.
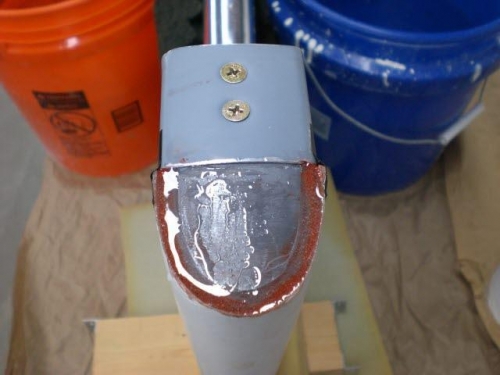
I used some little dental tools to place the RTV down at the bottom and then used Q-tips to clean a little RTV that got on the side in a few places. Next, I mixed up a batch of the epoxy t lay in the troph. The RTV held well and the troph filled up and leveled out nicely.....will let it dry overnight and check it out tomorrow. I found that 5 minute epoxy doesn't dry in 5 minutes....imagine that...