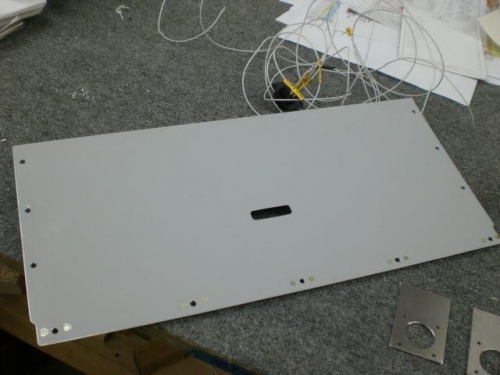
Got a little time in tonight and worked the new bracket and location for the PIC control stick large AMP connector. There are 17 wires that connect to this plug so it is fairly large as electrical plugs go.....about an inch in diameter.
After putting in the floors for doing seat cushion measurements I was looking and just liked the ideal of moving the AMP connector to a location under the seat ramp. The location gives plenty of room, can use screws to attach the bracket making it removable in case of removing the ramp, and keeps the connector away from feet and stick movements.
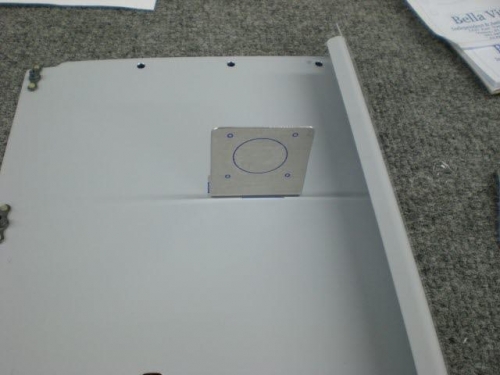
I made a thinner mock bracket from scrap I found in my aluminum scrap box from the wing tip rib that I had to modify that would be perfect for determining the location of the connector bracket. So with the ramp on and contorting myself in the cockpit I took the mock bracket with a piece of double sticky tape on it and fished around for the best location to mount it out of the way. I finally got it to where I felt would be a good location and pressed the bracket in place. I even put a piece of double sided sticky tape( I absolutely love that stuff and have a couple different strength rolls of it) on the stick plug and pressed it on the mock bracket in the blue circle to see how it would fit.....all looked satisfactory.
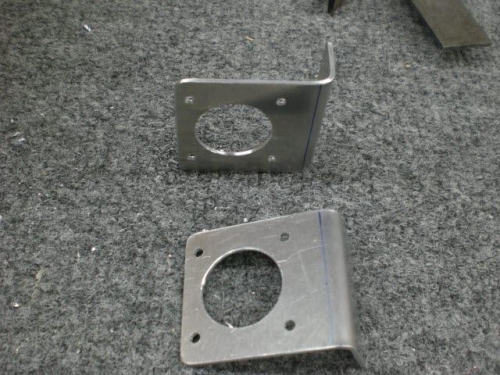
Using the dimension on the mock bracket I bent the permanent brackets. Now they are ready for drilling and putting nutplates and mounting to the ramp.