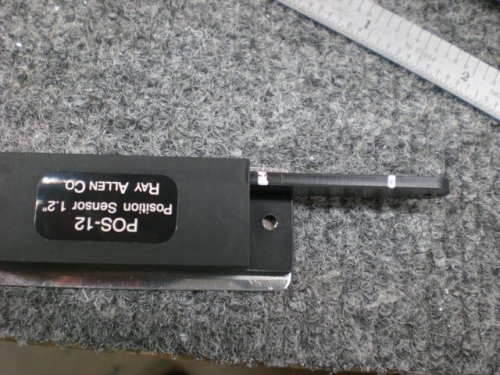
I started by countersinking and riveting the hinge half to the sensor mount.
Next I decided to mark the travel limits on the sensor with my paint marker. I decided that moving the markes .1 from the two ends of travel would be sufficient to keep the sensor from "hitting the stops" on each end.
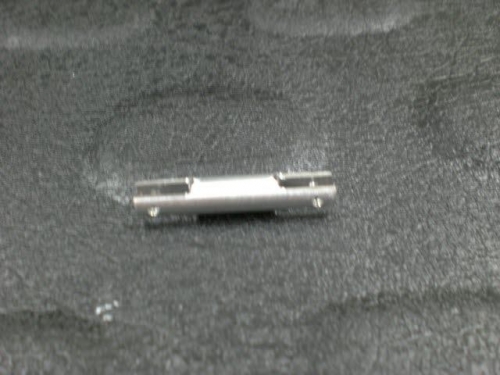
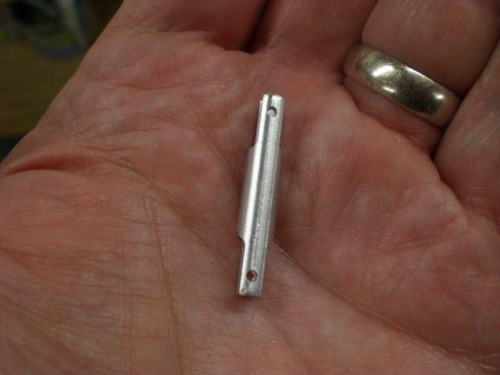
I then contemplated how to best connect the sensor to the adel clamp. The instructions suggest piano wire as a solution or linkages from model airplane retailers. I decided to try to make up a connection rod in the shop. I had some 3/8 inch round aluminum stock so I figured I would give it a try. I felt that if I make a type of clevis rod that would attach the two with cotter pins that would be used to attach the rod at each ends.
I went into the shop and took a piece of aluminum rod and began to turn the stock to 1/4 inch. Then I drilled a hole through the center and drilled and milled the ends. We will see how it all works when I put it all together. I am a little concerned that the hinge on the mount will allow the rod to twist instead of push the arm in the positioner....but there are ways to stop that from happening also......a work in progress.