Wow....what a day! It was one of those days that you really feel you accomplished something!
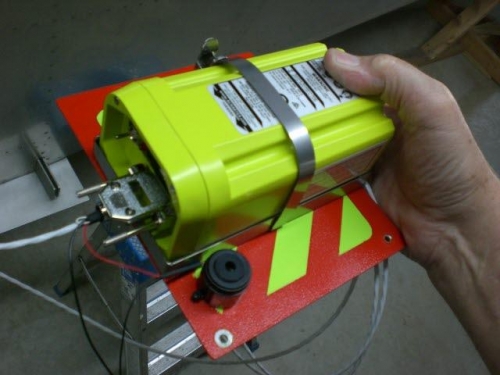
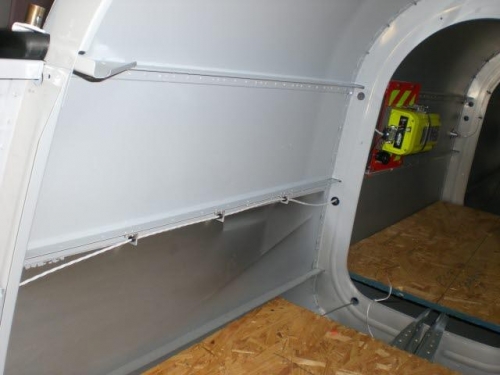
I was fortunate to have Ralph come over to have me help him with my wiring. We have been slowly sorting through the harness and getting the bundles sorted out. Ralph has been so instrumental at getting this straightened out. After doing the GIB light, comm jacks, and A/P disconnect I realized I needed to run the wire for the ELT. So I figured I better do that sooner than later and while I made wire standoffs and worked on the mechanics of the install Ralph worked on the harness. I made three wire standoffs using alum angle and snap bushings. I drilled and installed them on the longeron where the ELT wire would run. I then removed the ELT mounting plate and drilled holes to hold the buzzer, which will give off a fairly loud audable sound to let you know that the ELT has been activated (from a hard landing or by accident. The ELT requires no wiring from the aircraft system and is self contained so that made it simpler.
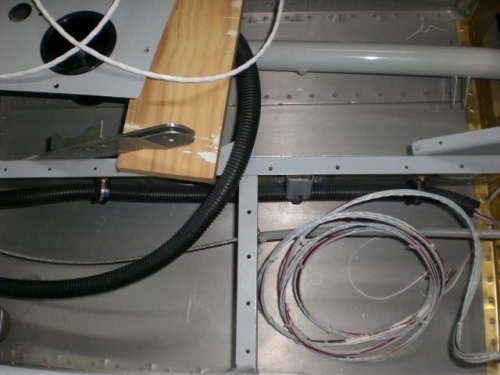
Next I worked on the conduits that run in the flooring area. I drilled and installed a couple adel clamps in order to keep the conduit in place. There are a bunch of wires that come through the spar center section that have to stay out of the way of the flight control actuating rods which I am trying to accomplish with the conduit. After getting the conduit in place I pulled the pitch servo wire bundle through.
In between I was helping Ralph with the wire sorting and discussing various wiring matters. The best thing of all is progress was highly evident!!!