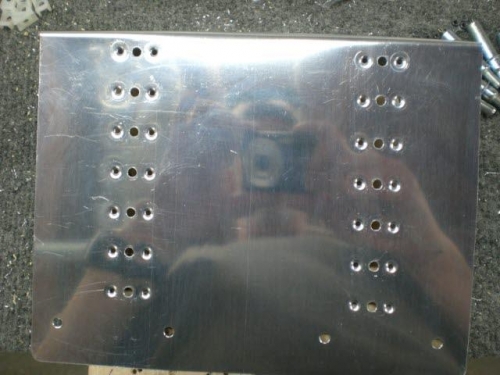
Brief Description: Wire tie down panel & Contactor/current limiter mo
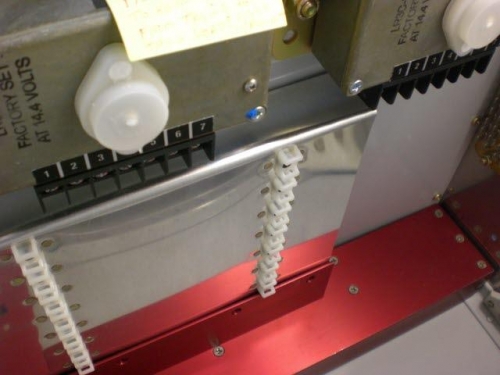
I continued fabbing the wire tie down panel. I figured out and marked the location for the nylon wire retainers and then drilled the screw holes and nutplate locations for #6 screws. There are four 1/4 inch holes at the bottom of the panel (see pic 1) that will attach with the battery tray bolts.
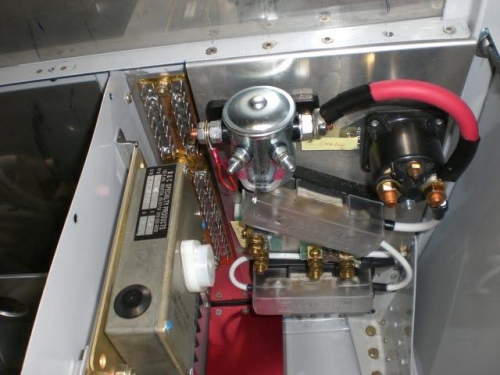
I then took the contactor/current limiter panel and installed it into the electrical bay. All the main components for electrical should be ready to begin running busses and wiring. I have to look at routing for perhaps a couple of holes to be drilled and perhaps some conduit for wires to be run and protected from the electrical bay as well as the fuse bay on the side......I will cypher that out next session. I will also drill wire access holes for wing wires and look up and drill holes for wiring as per Vans callout through the center section.