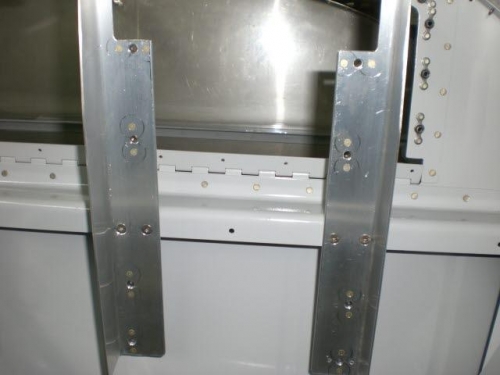
Brief Description: Complete GTN brackets and install
So I went through the process of prepping, drilling rivet holes, opening up the clearance hole, dimple for rivets, and installing the nutplates on the rest of the holes. I then installed the brackets on the airframe.
Something that I found very helpful for installing nuts is taking a piece of double sticky tape and putting it on the end of your finger and sticking the nut on the end of my index finger to hold it while getting the screw started in tight locations.....works like a charm!!
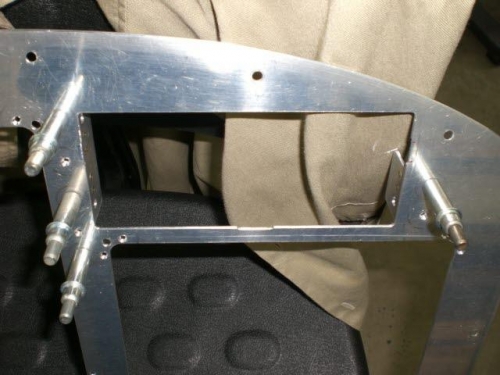
After installing the GTN support rails I started clecoing the brackets to the instrument panel to hold the tray brackets. I will rivet them in place in the next session.