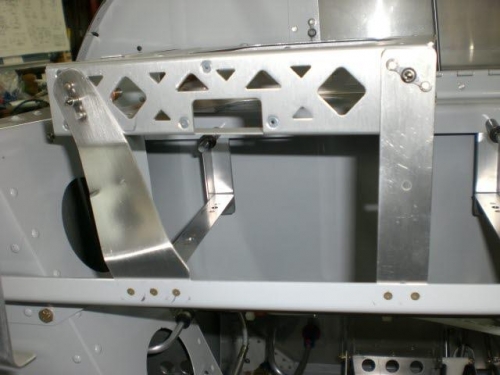
I designed a bracket that would be able to support the left rear portion of the GTX tray without interferring with the 2" vent hose that has to route to the left of the tray. Also the two brackets on the rear portion of the tray had to be such that they did not interfere with the box for the GTR 20 comm radio that would be nesteled below the GTX tray.
I made sure that I secured the GTR 20 box about a half inch forward on it's mount in order to give room for whatever brackets I could design to hold the rear part of the GTX tray.
It took a little time to form and slightly twist the left side bracket to compensate for the tray being mounted at an angle. After adjusting the bracket to fit just right I was able to insert the tray nutplate and I drilled the airframe rivet holes and match drilled them to the bracket.
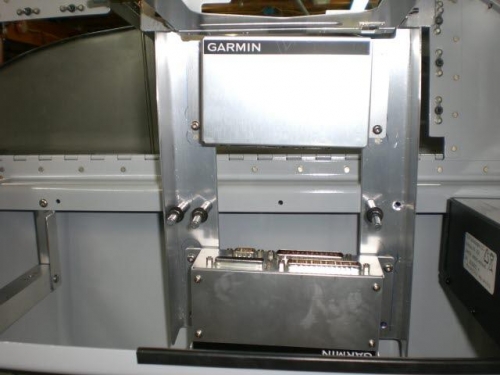
I removed the instrument panel and riveted the brackets in place.
Next I marked the holes for the GEA 24 and GAD 29 that will be mounted on the GTN 650 brackets. I removed the brackets and drilled two holes for each unit and installed nutplates. I then placed the brackets in place once again to make sure everything was still fitting good and I marked the remaining holes on the two units to be drilled next session.