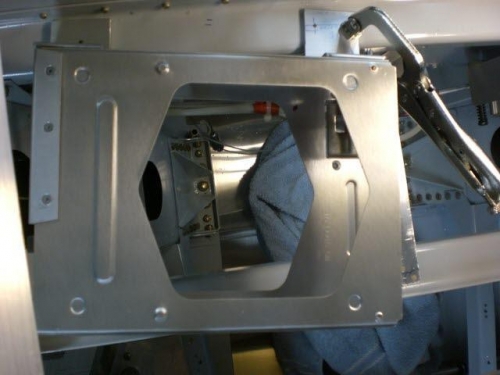
I had to complete a little more work on the GTR 20 mount which I completed.
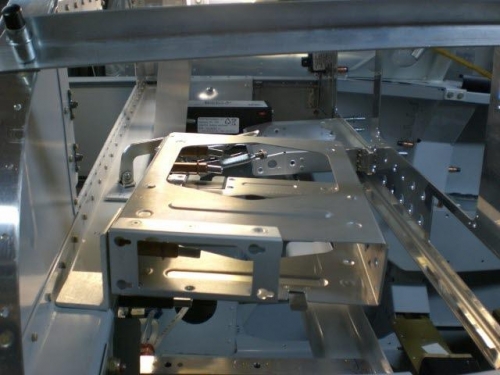
I then moved on to the GTX 45 Remote Transponder. Unlike the comm unit, even though this is a remote unit, it mounts inside a tray. In some way that makes it easier and in other ways it makes it harder. It is easier to work with trays because they are light and you don't have to worry about "dropping" the unit while handling it for fitting purposes.
The negative part is that it has to be installed in such a way that the transponder has to be able to be slid out for removal in the event of repair or whatever. So I went about holding the tray and visualizing how would be the best way to mount it. I knew where I wanted to mount it but was uncertain how I wanted to do it. There would not be enough room to install the tray and allow it to slide out due to the GTN rear brackets interferring.
I finally decided that instead of doing the natural way of mounting it parallel to the airframe support, I would angle it in order to allow it to miss the GTN brackets when it needed to be slid out of the tray. I found some 1.5 inch angle. It was 1/8 inch thick which is more than it needs to be but I am just using a couple pieces for attaching the tray to the airframe. So I started cutting and putting in the tray mounting holes and nutplates in the angles. The side towards the instrument panel will be a little more of a challenge to complete but that will happen in the next session. For now all is turning out well!