Brief Description: Insttument Panel debur and misc work
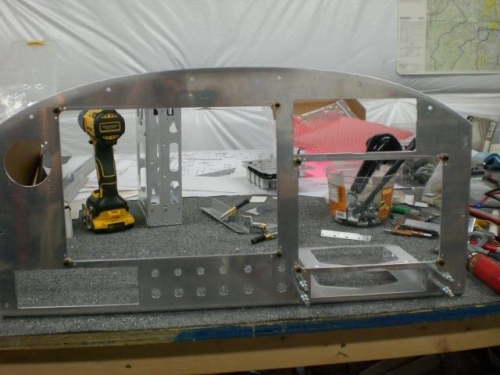
Spent a while getting the instrument panel deburred real well so the sharp edges wouldn't bite me in the future.
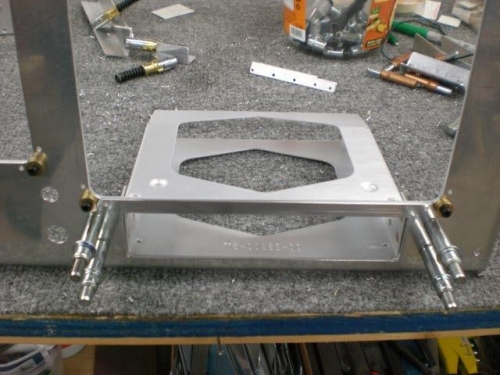
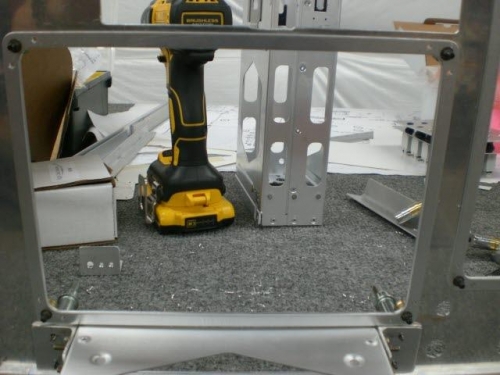
I decided to work on the GMA 245 Audio Panel to get the brackets located and match drilled into the place where it will be riveted in place. I moved the opening for the audio panel up about .100 because the back end of the tray was resting on the airframe structural support behind the panel. That worked great and now there is a little gap which will now require a couple small support brackets or something to be determined.
Next I worked on the chrono / G-meter. That was fairly straight forward as opening up the holes and selecting some black brass screws I had ordered from ACS. I did set the panel into the airplane and found I need a little more clearance for the radius on the top corner of the chrono where I took a little bit of the frame out.
Finally I worked on the mounting brackets for the two G3X displays. I kept the screwholes tight so I could locate the mounting rings on the panel and match drill the 8 rivet holes in each mounting ring before opening up the screwholes. I installed the rings and matchdrilled the holes. I deburred all the holes and countersunk them for rivets on the panel and enlarged the screwholes for clearance.