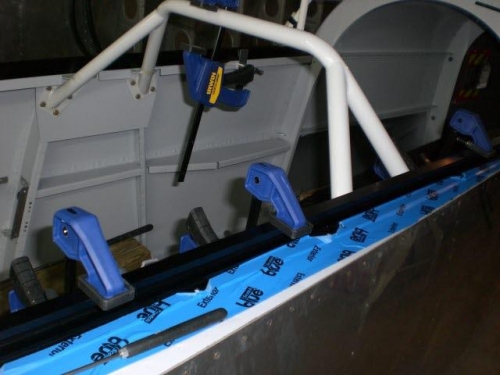
After getting the rails parallel and happy with the frame and everything where it needs to be to the best of my ability, I clamped the rails in place to drill the attachment holes.
I was able to get my side slide rails hard anodized black. I used the hole pattern called out on the print. This meant that I couldn't drill and the holes with a #40 drill prior to enlarging them for the #8 screw that will be used to secure the rails. It was a little risk but I didn't want to remove the anodize coating so I opened them up to final clearance size for the screws. The hole locations worked out great as far as falling where they needed to be by using them as pilot holes.....and the anodize was not harmed.
With all the holes drilled I attached the screws after drilling each one to help hold the rail in place. While the rail was in place I drilled the two rear holes that have to be match drilled from beneath the rails.
After drilling the most rearward hole I took some time to mark the area to clear the part of the rail that interferes with the screw by removing part of the rail rib.