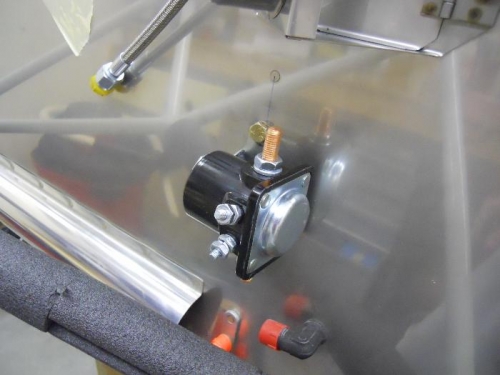
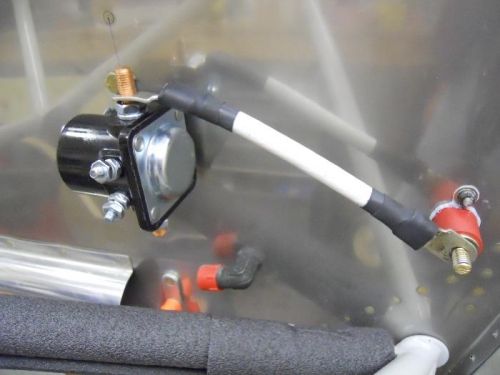
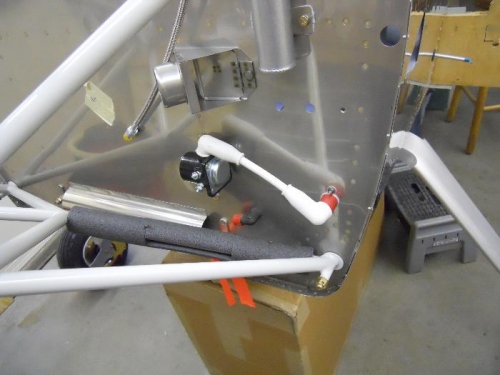
Drilled out one rivet thru firewall and backing angle. This hole will be for the lower bolt on the starter relay bracket. Opened the hole up with a “C” drill, then reamed to ¼”. I bolted on a miniature nutplate which I used as a guide to drill for the 2 mounting rivets. I bolted the starter relay to the firewall and marked location for upper bolt. Removed relay, drilled and reamed the upper hole. Waiting on an order from ACS with more miniature nutplates. I bolted the relay to the firewall and measured for a short length of #2 cable to attach the relay to the post on the battery passthru. I crimped a terminal on one end of the cable, then heated with a torch while running solder into the joint. Added some shrink tubing. I cut extra shrink tubing and slid to the end with the terminal. Added the second terminal. While heating with a torch, Nancy used a small spray bottle of water to keep the shrink tubing on the opposite end cool-didn’t want it shrinking on the other end. After the terminal cooled, I slid the shrink tubing down and heated with match to shrink. I test fit the short cable—should work, so I added some boots to each end. The cable will have to be removed to add the nutplates on the back side of the firewall.