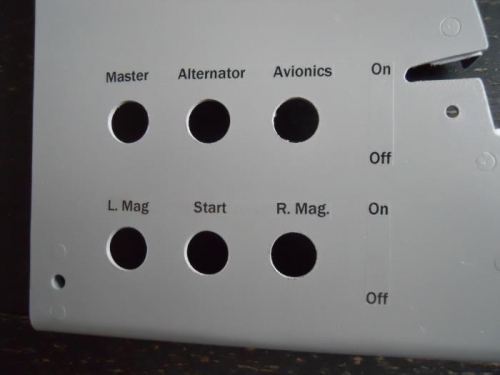
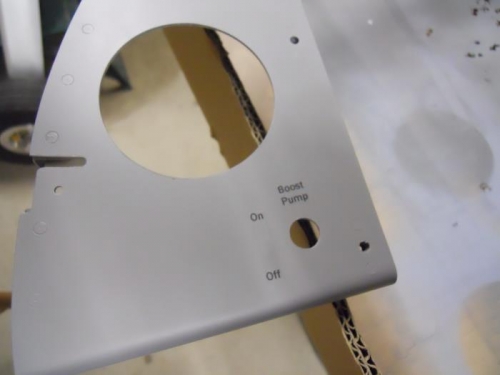
Panel Label Fun!! I needed to get the subpanels lettered in order to get them riveted in so that I can begin riveting on the top skin. I looked at plenty of build logs, checked all the VAF posts, talked to Stein and finally decided on a plan. There are a zillion ways to label panels. I chose to use water slide decals—just like we all did with model airplanes. I printed up various labels for switches, lights etc on plain paper, cut them out and placed them where ever they would eventually end up. I tried various font/point combinations until I found what I liked. I then printed onto some Testor’s Water Slide Decal paper (found this at Hobby Lobby). After printing on the decal paper, I sprayed the sheet with Testor’s sealer (also from Hobby Lobby). This keeps the ink from smearing or running when dipped in water. I used some 1/16” painters tape on the panel to lay out location of the various labels. I cut them out, dipped in water and slid the decal off the backing paper onto the panel. Wasn’t that difficult—only messed up a couple. I had printed multiple lines of the same item just in case. After the decal was dry, I sprayed over it with a matte finish clear spray--gave it 3 coats. You can faintly feel the decal and the clear label is slightly visible, but not that noticeable. I still need to apply the labels for varioust switchs down on the arm rest, but that can come later—I’m more interested in getting the top skin done.