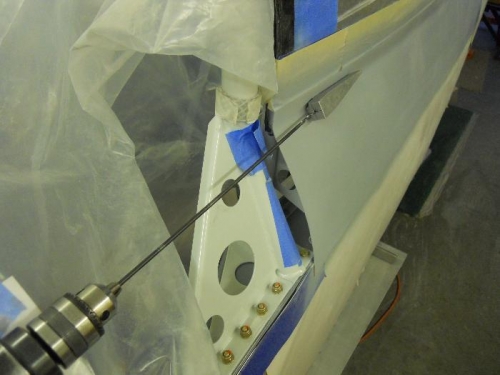
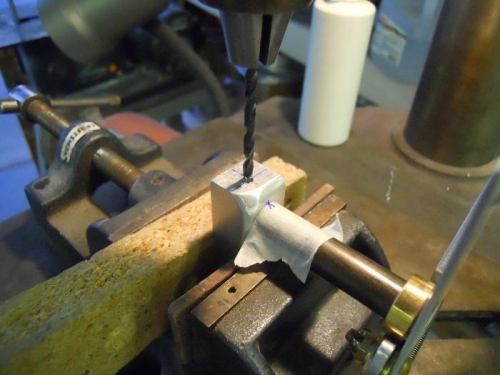
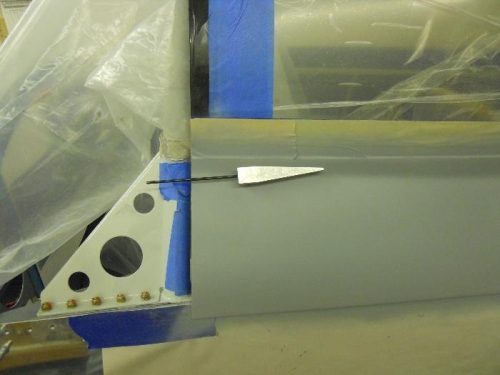
Lightly sanded the primer. Found a couple of areas that I sanded down more and shot a thin coat of sanding primer. I’m getting very close to calling the skirts done—at least good enough to fly to the paint shop (someday). I installed the canopy latch and latched the canopy shut. Placed the outside handle on the shaft and used a long #41 drill bit to match drill thru the handle and thru the front side of the shaft. Removed the latch assembly and clamped the outside latch in a vice and vertically aligned the holes in the latch. With the latch firmly clamped, I inserted the shaft and checked that the #41 drill was still aligned in the hole. I put a few drops of Boelube in the hole and drilled thru the backside of the shaft. Without moving anything, I changed to a #30 drill and drilled the holes up. Then changed to a #29 bit and drilled again. Cleaned up and re-installed on the fuse. Looks like this will work ok. I need to tap the holes for 8x32 set screw, then shape the handle.