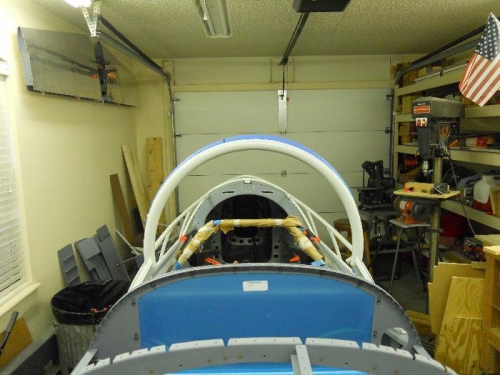
After the partial collapse of the front bow, I checked Van’s for a replacement frame—didn’t really like the price or the time involved in shipping. Besides, other than the kink in the tube, a replacement may or may not fit any better than the first frame. So, I took it to friend at a welding shop with the idea of cutting out the kink and welding in a new segment. He took a quick look and thought it could be straightened out with only a minor indentation. He turned the frame over and had me stand on the side where it meets the bow. He applied his weight to a couple of spots on the bow, then measured the center to center of the bottom of the bow. Center to center the rails should be 25 1/8” apart. The bow measured 25 3/8”. Took him all of about 3 minutes. I brought the frame home and spent a good bit more time getting the bow pulled in another ¼” and the rails set so that the rollers were smooth. The new bend also pretty well matches the curve of the roll bar. I don’t’ like the slight ding on the inside of the front bow, but I can live with it. I drilled the foremost hole in each rail per the plans, then match drilled them to the fuselage. I got the fuse back on the rotesserie and flipped it sideways to drive the 4 rivets in the center section cavity. I lightly countersunk the skin. I used NAS1097 rivets which Nancy drove from one side while I bucked from the inside. Next up is to layout the remaining holes in the rails and get them drilled to the fuse.