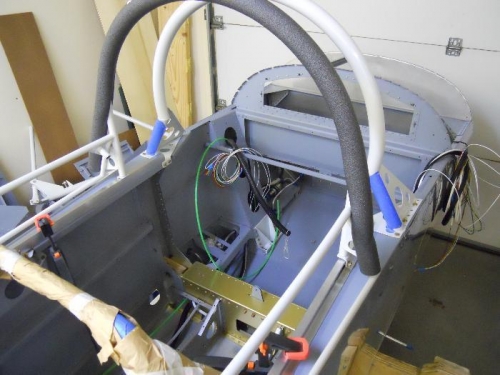
Made the relief cut on the left rail and smoothed up with 400 grit sandpaper. To get the rails spaced at the specified width of 25 5/8”, I used a piece of angle with marks for the width. And the fun began. I got the width of the rails at the front set, then moved aft and set the width. Of course the front moved, so I reset it. Now the back was off again. After about 15 minutes of running around the fuselage adjusting the rails, I got real close and clamped them down. Guess what, clamping moved the width again. This went on for a while until I got it close and moved on with installing the canopy frame. I put the roller assemblies together per the plans and slipped them in the rails. The frame needs to be sprung open a bit—rollers rub on the inside of the rails. Moved to the rear slide-placed the 1/16” thick aileron jig on the cap strip with the canopy pin resting on it (this tip from fellow builder Bill Crissinger--thanks Bill.) Put the 661 nylon slide block in position and marked a line on the frame so that I had a reference of where to drill the hole in the block. Not sure why Van’s changed the nylon block from white to black, but I wish they hadn’t. The marks I made on the block are nearly impossible to see. I think I’ll cover it in masking tape then measure and mark again before drilling the hole for the clevis pin. Sure wasn’t much progress to show for over an hour in the shop tonight.
Rails clamped in position (for the 45th time)
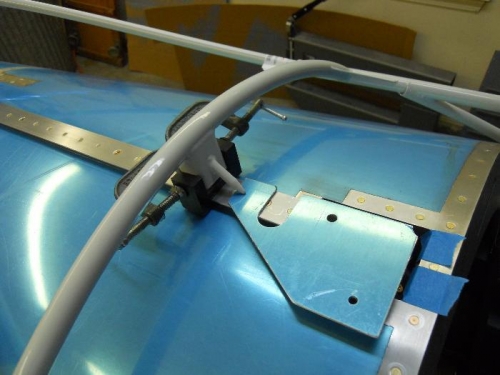
Setting 1/16" clearance between pin and rail
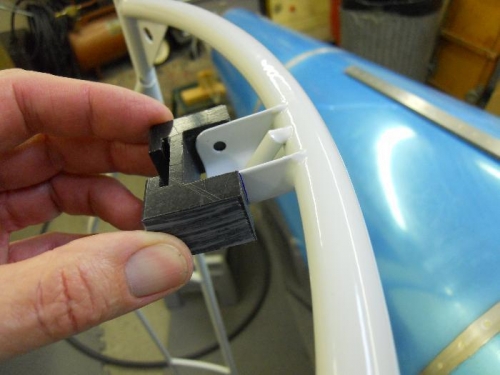
661 slide block goes here-white nylon would be much easier to see lines