
|

|
|
|
Steve & Nancy Riffe
|
Date: 10-29-2016
|
Number of Hours: 3.00
|
Manual Reference:
|
Brief Description: Final AOA & Pitot lines, install flooring
|
|
I spent a good amount of time determining where to enter the fuse with the AOA and pitot lines. Finally picked a location and drilled 2 holes, then used a unibit to open up to ¾”. Installed a couple of rubber grommets, then cut the lines inside the fuse to a proper length. For the blue AOA line I used a 90 degree connector and for the green pitot line I used a “T” fitting. I secured these lines about a foot aft with a zip tie to a stick on nylon base. BTW, I remove the existing stick on stuff from the base, scuff up the base real good and secure using Amazing Goop. This stuff holds better than any adhesive I’ve ever used. For the green pitot line going forward from the “T”, I made a small bracket to hold the line so that it will not get fowled in the aileron push tube. I temp installed the Van’s manual roll trim, but found I had used a hole that is supposed to hold an adel clamp. Seems I put a small toggle switch in the hole. This is a lockout of rear stick infinity switches—simple, just does not let the ground path connect so none of the rear stick switches work—might be useful if flying kids etc. So, I relocated the switch. I believe everything is complete under the floor boards, so I vacuumed it and began taking pics. I want remember what all was underneath the flooring. Then, I clecoed in the left and right floorboards.
|
|

Bracket to hold pitot line
|
|
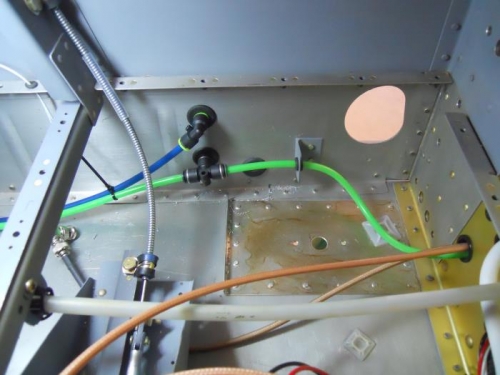
AOA & Pitot lines
|
|
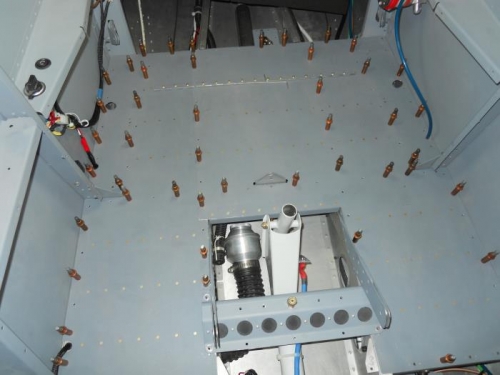
Flooring clecoed in
|
|
|
|
|
|
|
|
|
Copyright © 2001-2024 Matronics. All Rights Reserved.
|