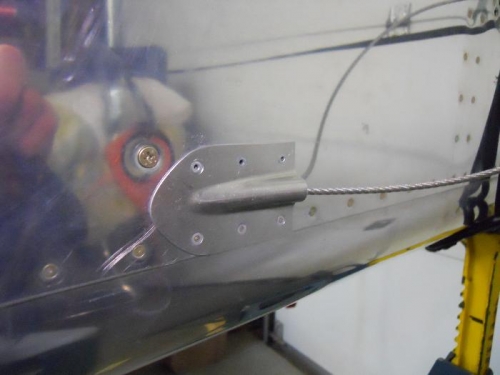
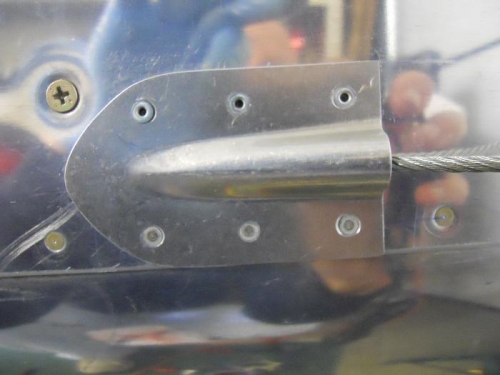
I started on the left rudder cable fairing tonight. I masked off the area on the fuse to be covered by the fairing, scuffed up and sprayed on some primer. Also primed the inside of the fairing. I had planned to use NAS1097 rivets to attach the fairing, so I made up a test strip with the inside of an old rib to see how the flush rivet set would work up very near the flange. Could not get the flush set close enough to the center of the rivet—the result was not as good as I wanted, so I settled on pulled rivets. I used the deburr tool to lightly c/s the fairing. I drilled out the top 3 holes to #32. The bottom 3 holes were drilled to 1/8” and reamed to #30. I used MK-319-BS rivets on the top holes and Cherry 3214-4-03 on the bottom holes. The MK-319-BS rivets don’t have enough grip range to use on the bottom holes since they go thru 2 layers of skin and a longeron. Both type of rivets will look the same after filling the holes left where the stem fractures.