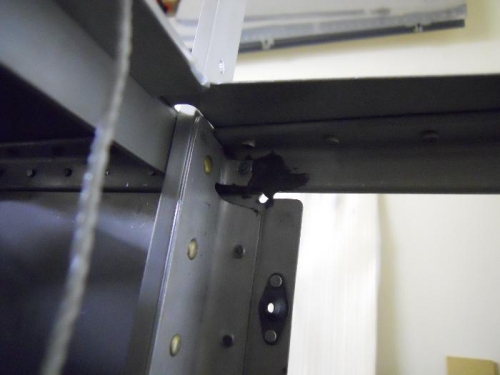
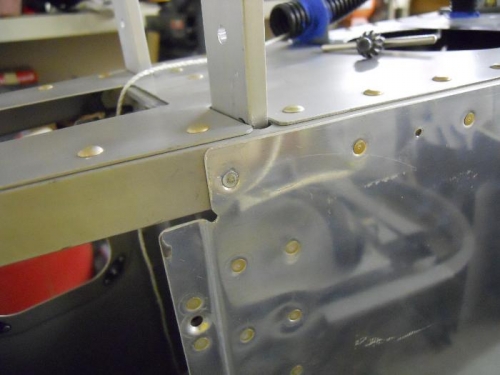
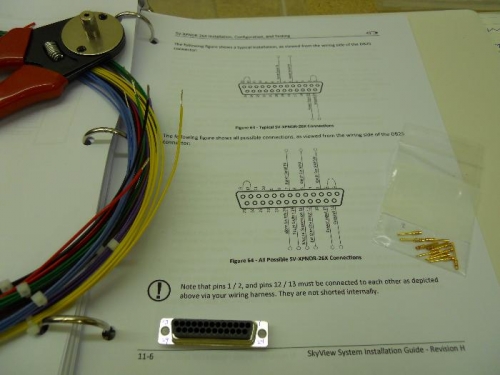
JB Weld was dry and the 3 remaining tabs were “glued” down. Careful if you do this that you don’t overdo and end up flying with a cleco sticking out in the slipstream! Used the squeezer and set the first 2 rivets with no problem. The last one got a bit mangled, so I drilled it out. Tried shooting and bucking this one, but still badly set. Drilled it out and now the hole is slightly larger. Drilled the hole up to 1/8”, then reamed to #30. I pulled out a CherryMax CR3214 rivet from my rivet cabinet. This cherry rivet fits a #30 hole, yet has a reduced head for a #40 dimple. Dipped it in primer and popped it in. Outside is flush, slight rough spot in the middle where the mandrel broke. Used a pointed stone in the dremel to smooth it up. Now I’m ready to start on the wiring harness for the transponder. Received wire from Stein today, as well as a 25 pin dsub connector and some pins. Got the wires stripped and ready for pins.