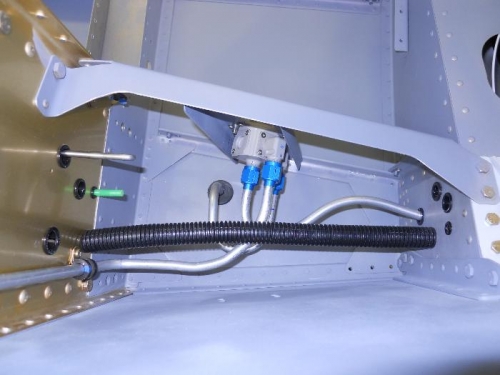
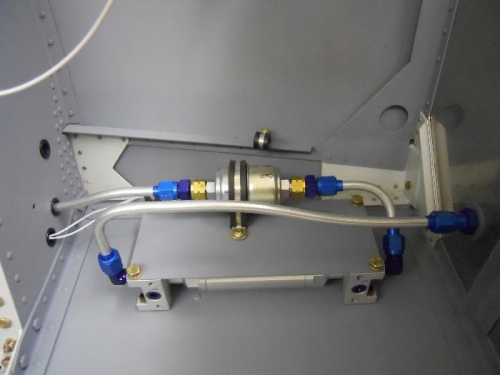
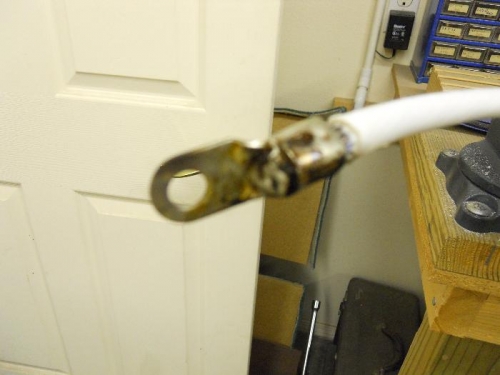
Finished up fuel lines tonight. I hand tightened all fittings and marked both sides of the union with a line so that I could torque using the “flats” method. Took all the fittings apart and coated with Fuel Lube (monster sticky!), but I found that rubbing alcohol will remove it. Assembled the fittings to the fuel valve, hand tightened to the previous marks, the tightened another 1.5 flats. Next I installed the fuel pump housing to the fuselage floor. Applied locktite to threads on the ¼” cap screws that go into nutserts and bolted down the housing. Next, I installed the cover plate with filter to the housing. Coated the fuel line fittings with Fuel Lube and tightened up—finger tight plus 1.5 flats. Some time in the next few years when the wings are on and I have some fuel in the tanks, I’ll hope to see NO LEAKS! For the #2 battery cable, I could not find a crimper at would fit it—largest the local aircraft repair shop had was for a #3. Took the cable to a battery shop and they crimped it on. Tonight I soldered the terminal to make sure I had a really good connection. I used my acetelyne torch—just waving it across the terminal until it was hot enough to melt solder. Applied the solder which was immediately sucked into the wire and terminal. Think this should work out just fine. I need to get some large shrink tubing to finish this end of the cable.