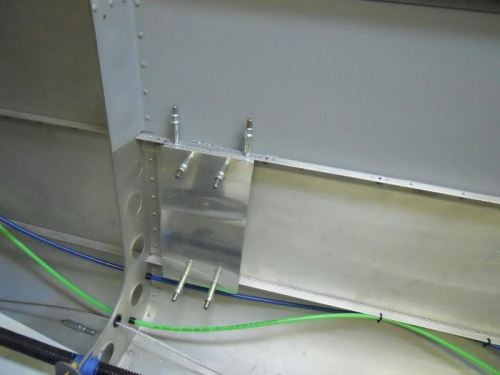
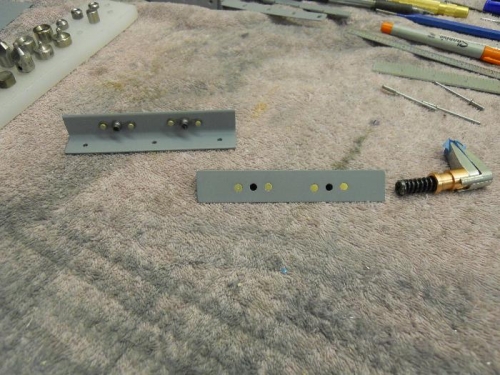
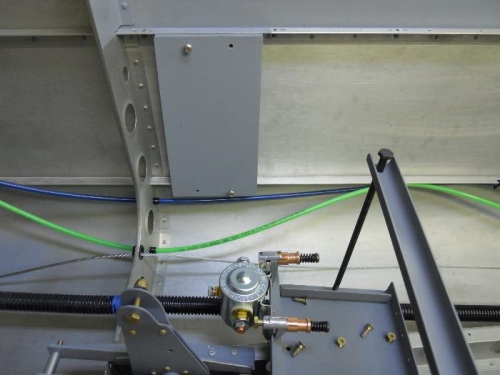
Continued with transponder mount. Laid out holes in mounting plate, clamped plate to angles which were clecoed to the longerons. Match drilled plate and angles to #40. Removed plate and used angle drill to match drill angles and longerons to 1/8”. Removed angles. Drilled the #40 holes in the plate and angles to #19. Used nutplate jig to drill holes in angles for mounting the nutplates, then c/s them. The holes in the top longeron need to be c/s for flush rivets. Due to location and inward curve of the fuselage skin, I used the 1/8” threaded c/s in the angle attachment to “free hand” the countersinks. Came out pretty well. Deburred everything, cleaned up and shot with primer. While primer was drying, I began looking at running the #2 wire from battery relay to firewall. That #2 wire is really stiff! After primer was dry, I squeezed some rivets to attach nutplates to the angles. Clecoed the angels to the longerons. Used LP4-3 pop rivets for bottom angle and CS4-4 for top angle. Done with mount.