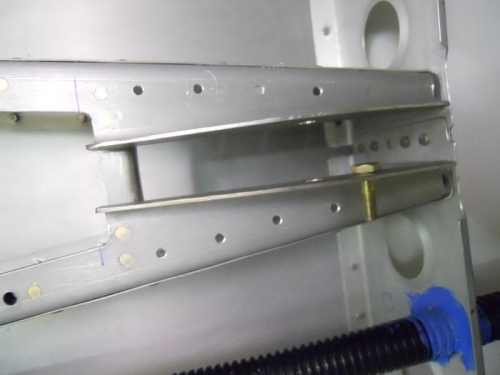
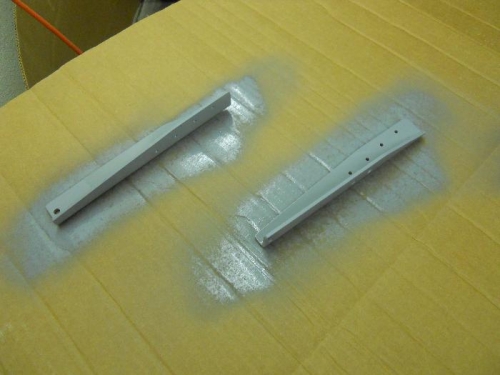
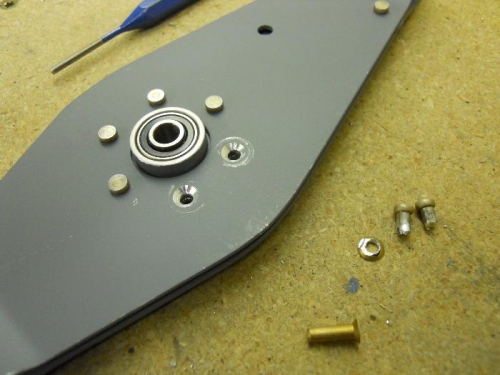
Drilled the second Dynon bracket using the template I had made a few nights ago. Bolted the brackets to the existing rib/bracket and match drilled the new brackets to the existing rib. Match drilled thru the Dynon bracket into the rib (this hole for the bolt that secures the front mount of the servo). Drilled the #40 holes up to 1/8”, then reamed to #30. Deburred everything, cleaned up and shot some primer on the brackets. The bellcrank that fits between the brackets will have a clearance issue between the shop head on the rivets and the head of the bolt that secures the front of the servo. Drilled out a couple of very nicely set rivets and countersunk for replacements. For anyone reading ahead, if you plan on a Dynon pitch servo (and possibly other servos), would be prudent to use c/s rivets in the bellcrank during assembly rather than drilling them out to be replaced at a later time. Will get these two rivets squeezed tomorrow.