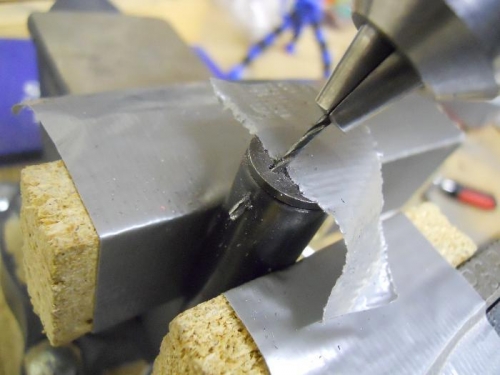
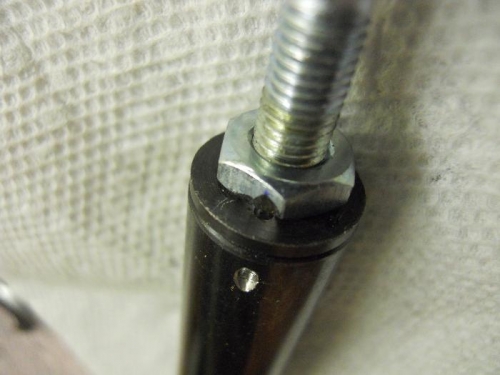
Drilled the flap motor shaft for the safety wire. My prior hesitation in drilling this was well founded. Used a punch to make a small ding in the end of the shaft and started the hole vertically with a 1/16” bit. After I got the hole started, I then angled the bit so as to exit the side of the shaft. WOW,I thought--this turned out easier than I had anticipated. I screwed the rod end with jam nut onto the shaft. Yikes, the nut covers much of the hole. Should have drilled the hole closer to the edge, but I was afraid that the hole might break out the edge of the shaft. So, I filed a small relief on the bottom edge of the jam nut. Once the safety wire is inserted in the hole, there will be no way the jam nut could ever loosen. Next I installed the WD806 flap actuator into the fuse—had forgotten what a pain that was. Installed the flap motor, the A406 bracket and connected the bottom of the flap motor to the flap actuator. Next I need to test the operation to ensure clearance of the motor shaft thru the hole in the armrest.
Drilling 1/16" hole in shaft
Jam nut with small notch
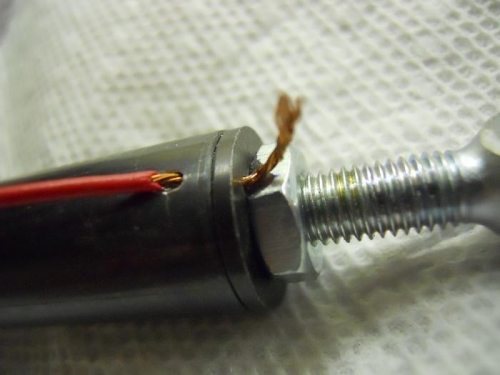
Testing hole-will replace with safety wire (on order)