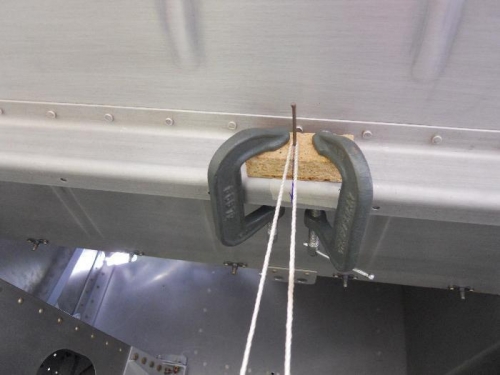
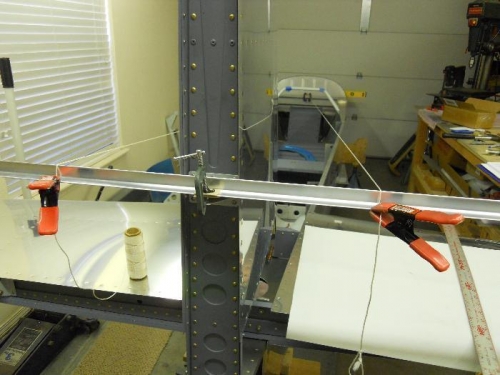
Measured from the top of the VS to the edge of the HS-set it equal and clamped the rear spar to the fuse. Used a nylon bushing-1/4” o.d. x .140” i.d. and angle drill to drill thru the bushing into the VS rear spar. Removed the VS, clamped a 1” block of aluminum over the hole to use as a drill guide. Drilled the hole to #30, removed the guide and drilled to C, and reamed to ¼”. Re-mounted the VS to the fuse—the hole lined up perfectly! Fretted about this for nearly a week, but it turned out to be a non-event. Repeated procedure for next hole—success again. Could not reach the bottom hole with the angle drill, so I inserted a ¼” bit and spun it by hand to put a mark on the VS spar. Removed the VS and drilled & reamed the bottom hole to ¼”. Installed the VS to the fuse with AN4 bolts. Match drilled the VS rear spar thru the F812B control stop with #30 drill and clecoed. Drilled to #13 and reamed to #12. Installed AN3 bolts. Clamped a 6’ angle to the center hinge bracket. Clamped a wood block with a nail in it to the F802N forward upper brace at the center line of the fuse. Ran a string from the angle clamped to the VS rear spar around the nail and back to the other side. Used a 48” level to get the three rudder hinges of the rear VS spar in alignment. Fiddled with the string measurement until the VS was on the fuse centerline. Finally got everything set and prepared to drill the F884 attach plate to the VS702 front spar. Rats-the F885 spacer had slipped. Removed the spacer and attach plate. Match drilled two upper outboard holes thru the spacer and plate. I cut two rivets down so that they would fit flush thru the attach plate into the spacer. Put some duct tape around the parts and clecoed it back into the HS spar. Went thru the process of getting the VS vertical and on centerline. Clamped the front VS to the attach plate and used a long #30 drill to drill the lower holes. Used an angle drill for the top holes. Drilled the attach plate & spacer to the HS spar with a #13 & reamed to #12.