
|

|
|
|
Steve & Nancy Riffe
|
Date: 7-3-2011
|
Number of Hours: 3.00
|
Manual Reference:
|
Brief Description: Flooring-12
|
|
Received the new flap blocks, but before I started drilling on them, thought I’d drill the forward holes in the existing blocks and offset the holes just a little. I moved the holes outboard 3/16” and drilled the blocks to #30. I bolted the flap blocks and flap weldment in position and pushed a 1/8” centering punch thru the holes then removed the flap blocks. The distance on the longeron is less than minimum, but not by much. Per Van’s, exceeding minimum distance at this location is not critical. So, I clecoed in the left & right floors and bolted the flap blocks back in place. Using an angle drill, I ran a #30 drill thru the blocks, skin and longeron. I then moved to a #12 bit on my new angle attachment and started to drill the skin and longerons. Made about 1 revolution and the drill attachment locked up. I took it apart and found about 3 teeth sheared off—crap! I will have to send it back and get another.
Can’t do any more with the flap blocks till I get another drill attachment, so I moved to the F834-1 rear baggage floor. Reamed out the nutplate attachment holes to #41. Then used a deburr bit in my cordless screwdriver to counter sink for NAS1097AD3 rivets. Removed the blue plastic from the bottom side of the baggage floor and edge finished the floor. Maybe tomorrow I can shoot some primer on the bottom side and rivet on the 8 nutplates. For now I plan to leave the plastic on the top until I decide on interior paint.
|
|
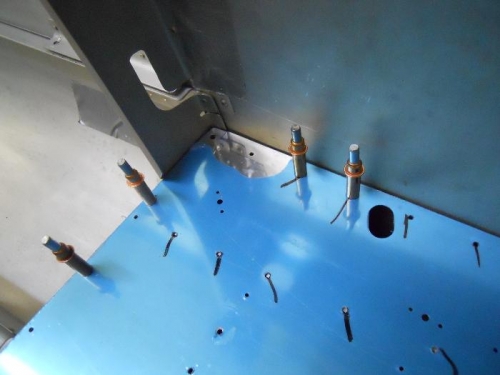
Forward flap block holes drilled #30, need to drill #12
|
|
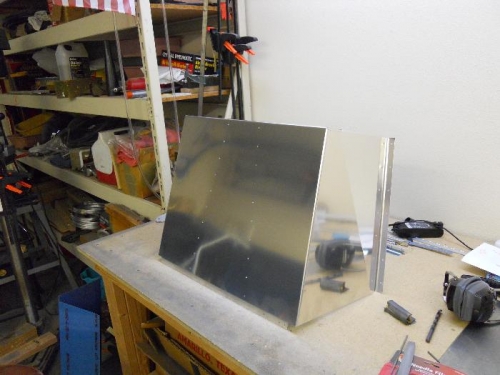
F834-1 rear baggage floor, almost ready for primer
|
|
|
|
|
|
|
|
|
Copyright © 2001-2024 Matronics. All Rights Reserved.
|