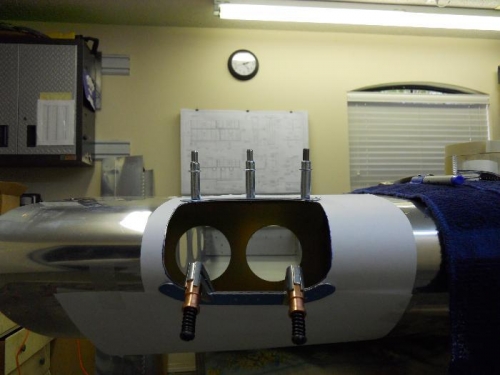
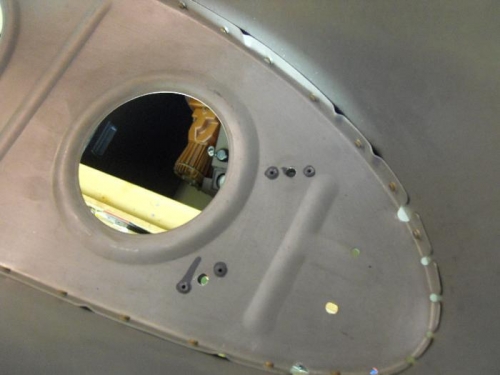
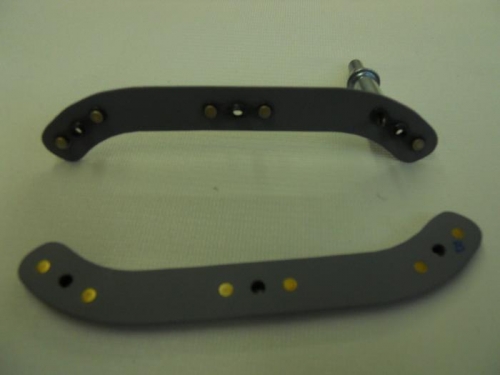
Used a 1.5” drum sander to take the “ruff cut” down to within 1/16” of my final line. Then used a 1” scotchbrite wheel on my die grinder to finish the cutout, followed by a light sanding with 400 grit sandpaper. Cutout done—took far less time than the right wing. Taped the template back to wing. Then I clamped the backing strips over the template and match drilled the strips to the wing. Opened up the holes in the backing strips with a #28 bit to accept #6 screws. Countersunk for NAS rivets to attach the nutplates. Deburred, cleaned the shot primer on the backing strips. While the primer was drying, I used the rib template to locate the nutplates that attach to the ribs. I did not follow the same procedure (Duckworks instructions) as I did on the right wing (see post dated 3-27-11). Instead, I drilled pilot holes with a #40 bit. Next I opened up the holes with a #10 bit, and ran a 10-32 screw thru the rib into the nutplate. Then I used the nutplate as drill guide and drilled the rib using a #41 bit. Did this for all 4 nutplates. Deburred everything, then pop riveted the nutplates to the ribs. Primer on the backing strips has dried, so I squeezed the NAS rivets to finish the strips.
Cutout done-drilling attach strips to wing
Nutplate attachments-primer ran up? No, camera was inverted!