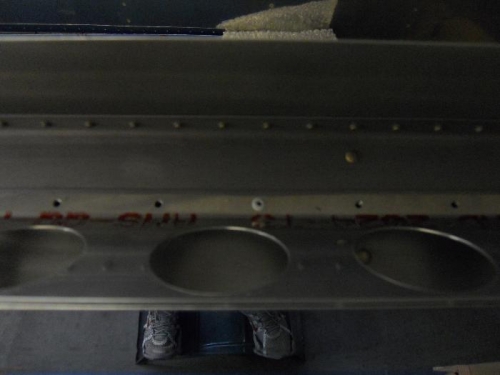
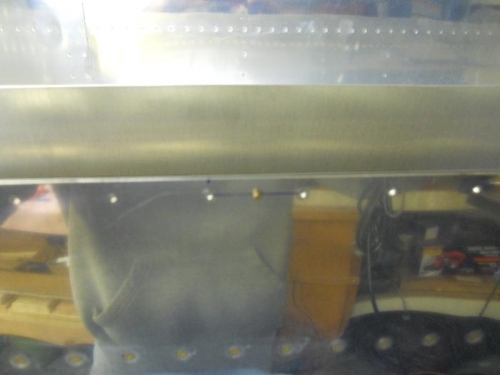
Brief Description: Preparing to dirll L. flap hinge
I clecoed the flap brace to the rear spar and wing skins. Next, I match reamed the two outermost holes on the flap brace/skin. I drilled two #40 holes thru the skin and flap brace, spaced approximately 1/3 of the way from each end. I removed the wing skin and flap brace, and put a small countersink on the back of the flap brace for the two holes I just drilled. I also put a countersink on the face of the flap brace on each end (the holes previously match reamed), and used the pneumatic squeezer to dimple the corresponding holes in the wing skin. Clecoed the flap brace to the rear spar from the backside of the spar as far as I could reach, then set a couple of soft aluminum pop rivets in the areas I could not reach. I then clecoed the wing skin back to the wing. I set a couple of NAS rivets in the two holes which I countersunk on the back side of the spar. I squeezed these very slightly—just enough to hold the flap brace to the skin. At this point the flap brace is secured to the spar and the skin. When I clamp the flap in position, the clamps on each end should fit over the dimple/countersunk holes to firmly position the ends. Next session I hope to mount the flap and drill the hinge.