KitLog pro

Powered By Kitlog Pro v2.0

Steve & Nancy Riffe
' style=
Date:  12-22-2010
Number of Hours:  0.80
Manual Reference:  
Brief Description:  WD-721 Bellcranks

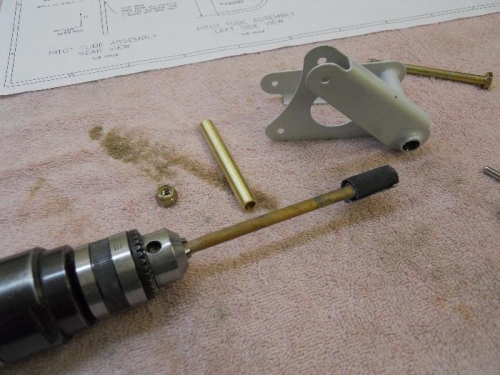
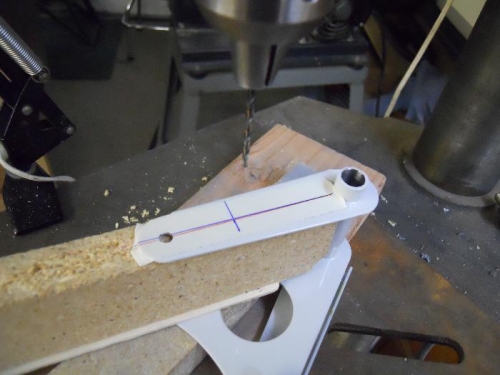
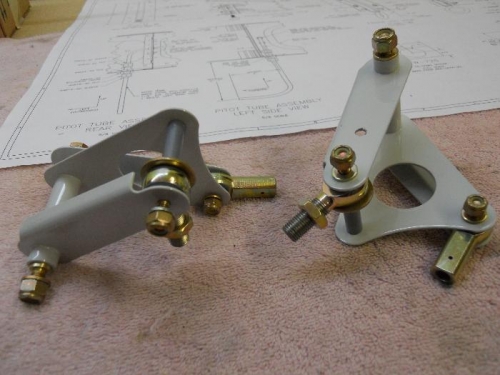
Polished up the inside of the right bellcrank using emery cloth and air drill. Turns freely now. Cut spacers from aluminum tube stock that fit in the WD-721 bellcranks. Gave them a quick shot of primer. While that was drying, I marked the location of the hole on the right bellcrank where the Dynon A/P servo arm attaches and drilled to #13, followed by a #12 reamer. Assembled the bellcranks with rod ends from the long and short pushrods.
' style=

Polishing inside of R. WD-721 bellcrank

Polishing inside of R. WD-721 bellcrank

' style=

Drillin pilot hole for Dynon A/P servo attachment

Drillin pilot hole for Dynon A/P servo attachment

' style=

WD-721 Bellcranks-assembled

WD-721 Bellcranks-assembled

' style=


Copyright © 2001-2024 Matronics. All Rights Reserved.