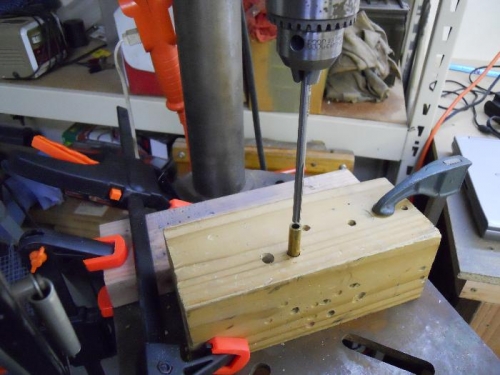
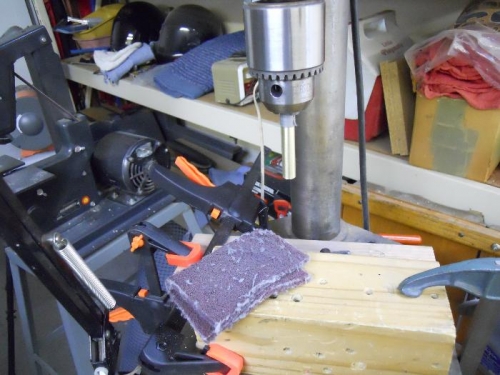
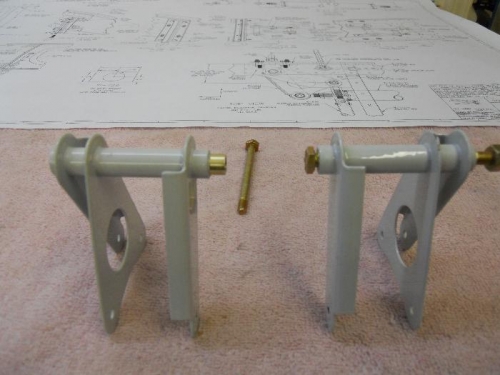
Started on the Wd-721aileron bellcranks tonight. I drilled a hole in a block of wood about the same diameter as the brass bushing. Then inserted the bushing in the block and ran a 1/4" reamer thru the bushing. Next, I wrapped a piece of duct tape around the end of the bushing and chucked the bushing in the drill press. Used a scotchbrite pad while the bushing was spinning to polished the outside. Either bushing fits the left bellcrank and turns freely. The right bellcrank is a tight fit the last .25”. Appears to have a rough spot inside, so I wrapped a piece of emery cloth around a dowel rod which I chucked in my air drill. Polished up the inside of the bellcrank. Now the bushing fits and will turn but still not as free as the left bellcrank. Will work on this a bit more.