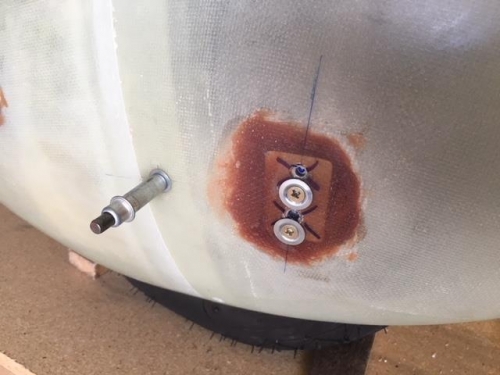
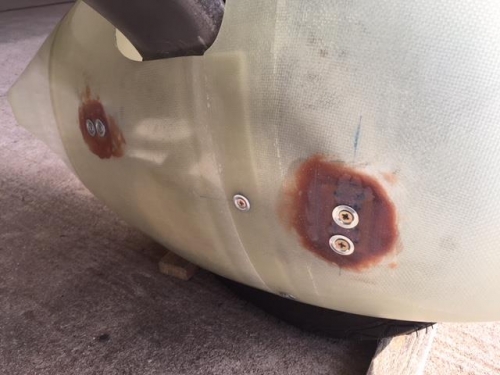
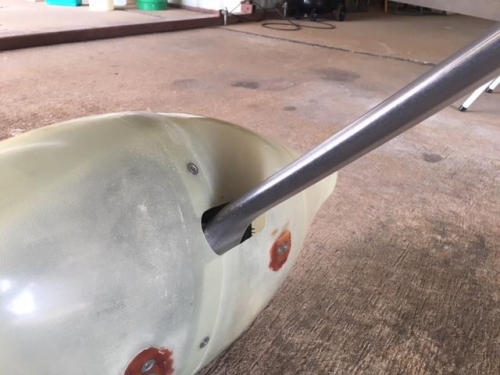
As I was completing final trimming of the left pant, I noticed the tail sitting a bit higher than the right pant—must have slipped while drilling the pant to the U807 bracket—not sure why I didn’t catch this earlier. I removed the screws from the front half of and loosened the screws on the rear half. I moved the tail of the pant back down to where it should be. I used a blue sharpie thru the holes to mark the U807 bracket. Sure enough, the holes in the front half were off by .75”. I measured from the existing holes and drilled one new hole to 1/8”. Installed the front half—the new hole lines up and tail is the correct height. I removed the pant, drilled the second hole, then opened both holes to #19 and countersunk them. Re-installed the pant—all looks good again, so I removed the front half. I mixed up some flox to fill the previous holes and extend the “pad” on the inside for the new holes. Used packing tape to insure that the resin didn’t get stuck to something it shouldn’t. I installed the pant and left it overnight. Today, I sanded the area smooth, installed the pant and went flying. I did notice a 5 to 6 knot increase in airspeed—wow! I am waiting on some lower intersection fairings from RV Bits. Then, more fiberglass work!