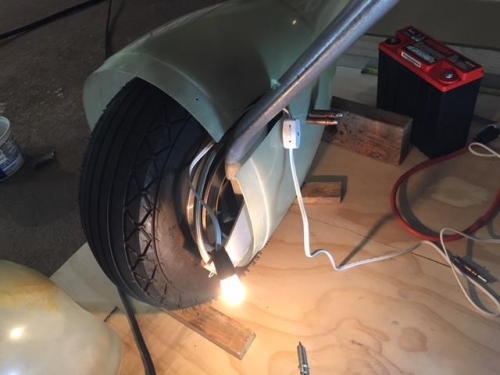
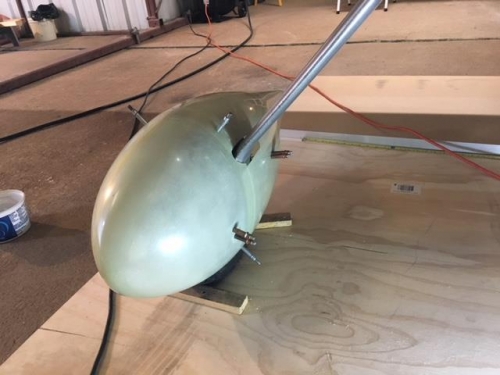
I found a small electrical cord with a single 25w. bulb—was just the right size to use for drilling the U807 brackets. I taped the bulb inside the aft U807 bracket, then blocked up the pants to get the horizontal alignment and sighted down the centerline of the tire to align the pant laterally. I drilled a 1/16” hole thru the glass into the center of the hole on the U807 bracket. I removed the pant and opened the hole up to 1/8”. Reinstalled the pant, added a cleco to the previously drilled hole and drilled the second aft hole to 1/16”. Removed the pant, drilled the hole up to 1/8” and re-installed the pant. Then, I moved the light to the front of the U807 bracket, installed the front half of the pant. Went thru the same drilling routine as I did on the rear half of the pant. This seemed to work ok, so I repeated this procedure for the left pant. I measured everything one more time. The tail of the left pant is .05” shorter than the right side—close enough for me. I checked the pants to see how close to parallel they are to the centerline of the aircraft. Looks like the tail end on both sides is now about .2” less than the front of the pant. Well, maybe or maybe not. It is nearly impossible to know where the exact centerline of the pant is—very difficult to draw a straight line on a surface that is curving in two directions at the same time. I pulled the plane out of the hangar and stood back to eyeball the pants—I can’t see any difference between the left and right wheel pants—so, I’ll be movin on!