
|

|
|
|
Steve & Nancy Riffe
|
Date: 11-10-2015
|
Number of Hours: 5.00
|
Manual Reference:
|
Brief Description: Install and trim flaps
|
|
I hooked up the battery so I could operate the flaps—had to remove the baggage shelf to find the negative cable. Then, I dug out the WD-806 flap actuator weldment—spent almost an hour trying to get the bolt holes aligned. Finally, I removed the darn thing and discovered I had one of the nylon blocks upside down—duh, no wonder it wouldn’t fit. Anyhow, got past that obstacle, attached the flap motor and tried the switch on the stick. Wow, it works—actuator moves up and down. I raised it to full up position and started on flap install. I began with the right side. I ran a scotchbrite pad up and down the pins, lubed them with Boelube and installed the right flap. I marked the inboard skin where it was contacting the side of the fuse, removed the flap and trimmed the edge with a small scotchbrite wheel in my die grinder. Smoothed it all and re-installed. Fit is good, and when aligned with the aileron, it has about a 1/8” gap before contacting the fuselage. I’m calling this side good. Moved to the left side and began the same process. However, the left flap skin didn’t fit as easily as the right. I marked, removed, filed, re-installed at least a dozen times before finally getting enough skin removed to clear the fuse when in the up position and aligned with the aileron. Next, I dug out the hardware for the pushrods. I had previously bought some hex rods from Avery—they appear more robust than the stock rods. Tomorrow, I hope to get the rods installed and holes opened up to take care of any rubbing of the rods. Then it’s on to the flap fairings.
|
|
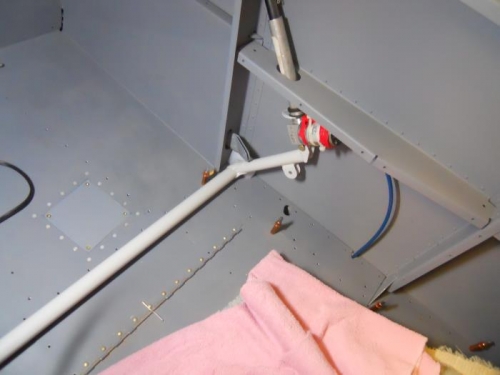
Flap weldment installed
|
|
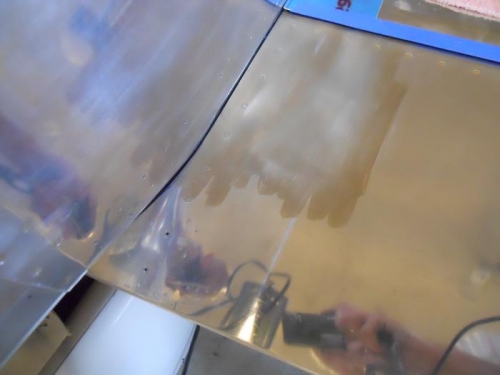
R. flap edge clearance
|
|
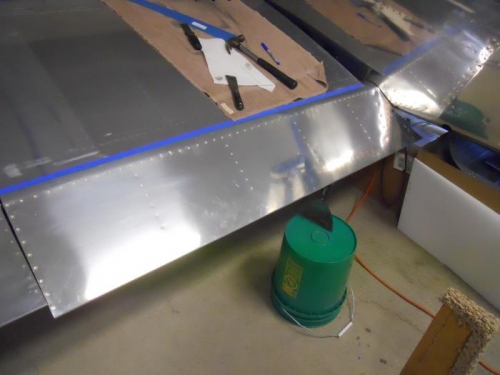
L. flap--long process to get clearance
|
|
|
|
|
|
|
|
|
Copyright © 2001-2024 Matronics. All Rights Reserved.
|