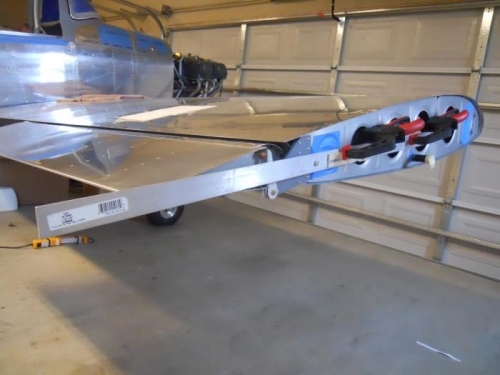
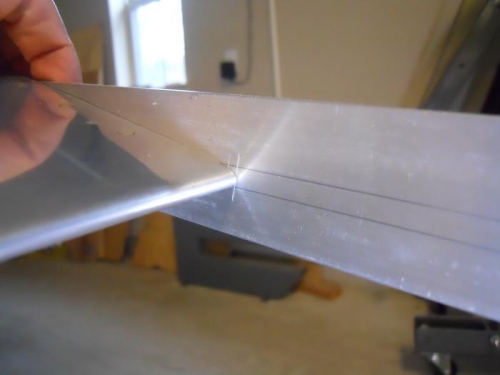
I started off by placing the aileron jig in the right aileron bellcrank to lock it in position so that the W-816 control rod could be adjusted to neutral (last session I had tied the control stick to a vertical position). Then a repeat this process on the left side. Then, I installed both left and right ailerons. Sounds simple, but sure took a long time to get all the washers and spacers in position. Next I connected the W-818 pushrods between the aileron bellcrank and the ailerons. I released the stick and did some rolls (no elevator, so couldn’t do loops). Controls seemed very smooth. I used a tool I had made several years ago to check aileron alignment with the wing tip—about a 4’ aluminum strap with some holes that correspond to tooling holes in the wing tip. This strap also had 2 parallel lines drawn on it. The aileron was perfectly aligned with the wing tip. Checked both sides, then checked the travel of the ailerons. The travel was on the low end. I had previously made some stops from .65” delrin rod, but this seemed to limit the travel, so I made some new stops from .5” rod. Swapped out both sides and checked up & down aileron travel. The left side is 31.5 degrees up and 16.4 degrees down. The right is 31.6 up and 16.4 down. Van specifies ranges of 32-25 and 17-15. She should roll pretty fast!