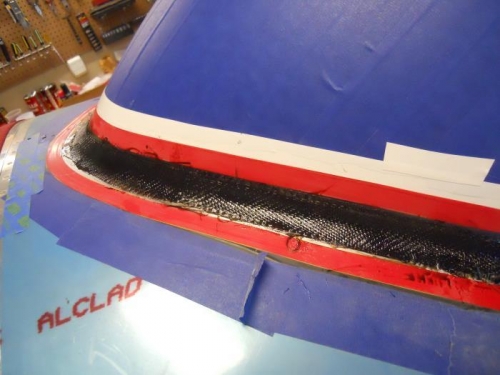
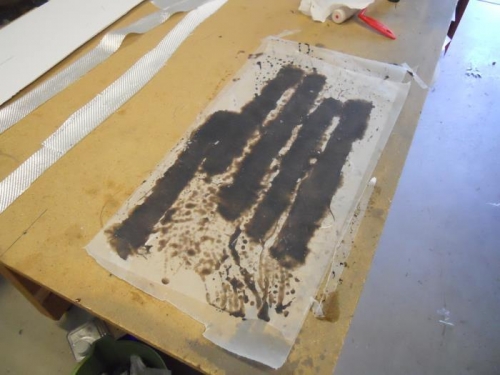
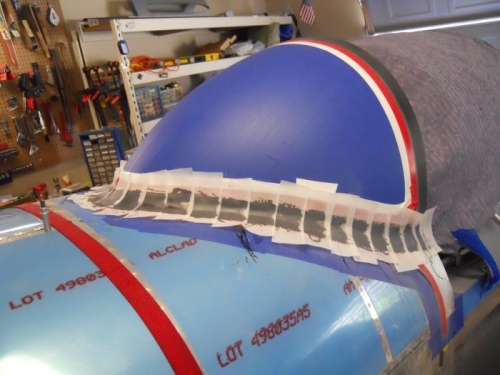
I sanded the fillet on the windscreen a bit more, then blew all the dust off using my air compressor. I got out all the stuff I thought I’d need to make the fiberglass lay up on the front & sides of the windscreen. I placed the ½” and ¾” glass strips (previously cut) on a sheet of wax paper, then mixed up a batch of resin—added a drop of black pigment to it. I poured some resin on the strips, then covered with another sheet of wax paper—used a small paint roller to spread the resin and wet the fiberglass strips. Pulled off the top sheet and picked up the first ½” strip. I applied it over the fillet on the windscreen, followed by another strip—overlapping just slightly. After I went from the left side around to the right side, I started in with the ¾” strip. Then it was just repeat this same process for the next 5 layers of glass. There was a number of rubber glove changes during the process and had to use new wax paper about every third time. After all the glass was in place, I cut strips of peel ply and added over the wet glass. Cleaned up everything and will let the infant fairing cure for a day or so. I fear there is much sanding in my future.