
|

|
|
|
Steve & Nancy Riffe
|
Date: 7-21-2015
|
Number of Hours: 5.50
|
Manual Reference:
|
Brief Description: Drill & cleco windscreen to rollbar
|
|
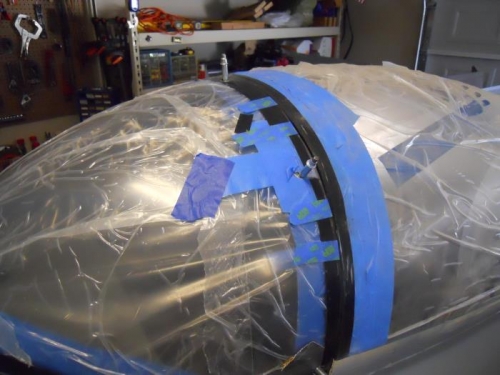
I put the windscreen on the fuse, but it wanted to wiggle around so, I got it placed where I think I want it to reside and drilled a hole in the top aft end. I used a 1/16” bit, then opened the hole up to #40. Drilled thru this hole to mark the location on the roll bar. I removed the windscreen and finished up the hole in the roll bar. I put the windscreen back in position then clecoed. This worked ok, so I marked and drilled 4 more holes. I used some spacers made from 1/8” vinyl tubing. With the windscreen fixed in place, the canopy won’t close completely—several areas along the aft part of the windscreen weren’t very even from the big cut. I marked them, removed the windscreen, used the bandsander to remove the excess, then filed smooth and re-installed. I probably did this at least a dozen times. Now the windscreen pretty much is even with the front of the canopy. I removed the windscreen and closed the canopy completely, then placed the windscreen back into position. Looking thru the aft top part of the windscreen I could see the hole in the roll bar. I measured this distance-.1”, then added 1/16” to that number. Used a popsicle stick with a hole in it to draw a line around the aft part of the windscreen. Next session, I hope to get this excess removed and prepare to glue the windscreen on.
|
|

Windscreen clecoed to roll bar
|
|
Fitting windscreen against canopy
|
|
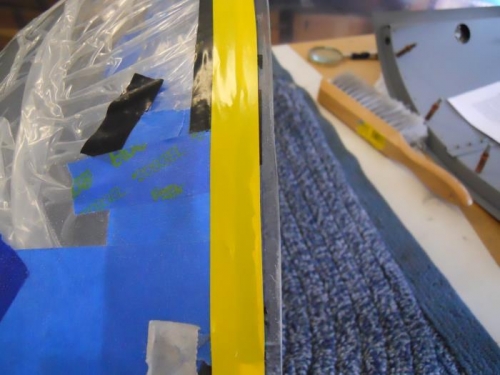
Plexi to edge of tape needs to be cut-about .17"
|
|
|
|
|
|
|
|
|
Copyright © 2001-2024 Matronics. All Rights Reserved.
|