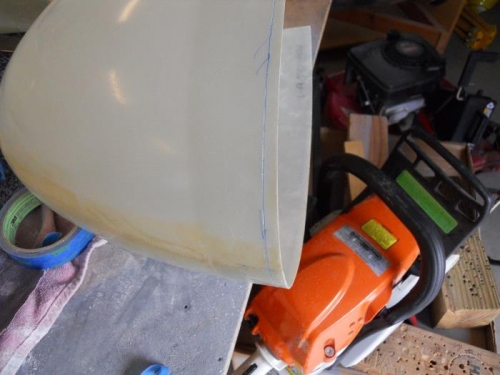
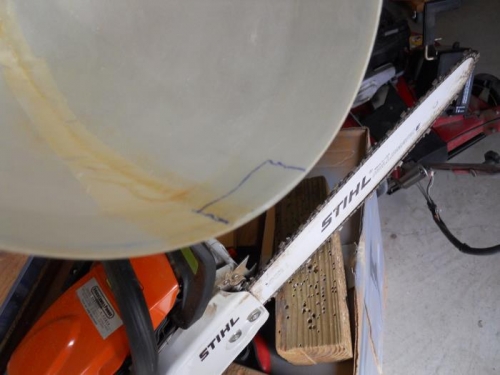
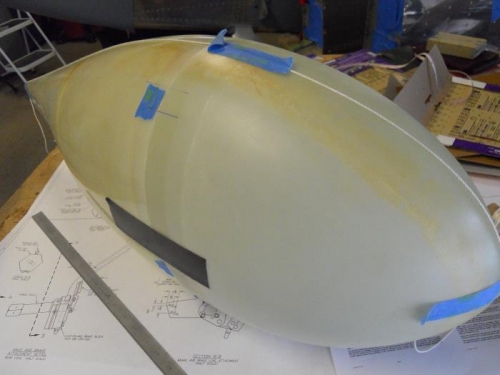
I think I have pretty much finished up everything I can do until I move to a hangar—on a list, hope it happens soon. In the meantime, thought I’d work on wheel pants. Another excursion into fiberglass was not my preference, but I suppose they have to be done at some point. I threatened these little glass darlings that if they gave me any grief at all that they would meet an early demise by chainsaw! I marked each pant for L or R then began work on the right side. I drew a blue line on the front half so that the scribe line would show up better. I considered various methods to get down to the scribe line—dremel or sand down to the line. In the end I used tin snips and cut the glass so that the blue line was just visible. Then, I began sanding and fitting to the rear half until I had a decent fit. The upper inside of the front half also has to be reduced where the glass overlaps and forms a thicker area. I used a 2” drum sander on my electric drill for this spot. After I was satisfied with the fit, I taped the front and rear half together with gorilla tape. I used a string which I stretched from the aft portion of the pant around the nose to mark the upper center of the assembly. I measured off of this point to determine where the screws will be located to secure the two halves together. After I marked the screw locations, I looked at the plans and they show 1/8” from the edge of the front half to the center of the attachment hole. Doesn’t seem right to me—the plans call for a #6 screw which would be a #27 hole. A #27 hole is .144” diameter—this would place the edge of the hole about .053” from the edge of the glass. I better do some more checking before I drill these holes.