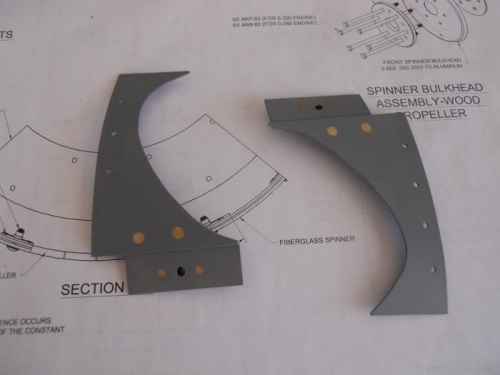
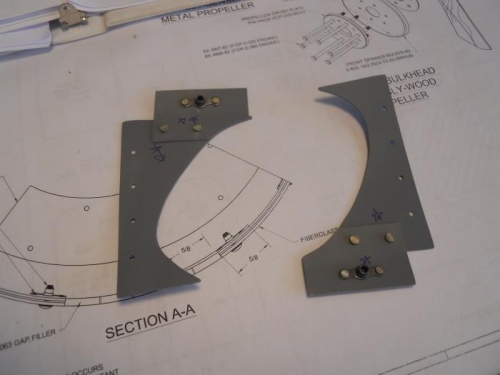
I finished up fitting the gap filler plates. I match drilled #30 the mounting plates to the reinforcement tabs, the countersunk for flush rivets. Used my nutplate jig to drill mounting holes for the nutplates, then used my deburr tool to lightly c/s. Cleaned up all the parts and shot a coat of primer. After the primer dried, I squeezed in the NAS rivets to secure the nutplates. Then I squeezed the AD4’s to attach the tab to the filler plates. I’m now ready to remove the prop so I can get at the rear mounting plate.