
|

|
|
|
Steve & Nancy Riffe
|
Date: 4-13-2016
|
Number of Hours: 3.00
|
Manual Reference:
|
Brief Description: Final trim front baffles
|
|
I started trimming the front baffles—had already trimmed once before I added the upper air ramps in. Most all of this trimming was along the sides after the bend that turns the baffles toward the front. Same old routine—mark, remove cowl, remove baffles, trim, then re-install everything and repeat—many times. Once I had enough trimmed for the upper cowling to sit down, I did the paper clip thing to get a final clearance of .4”. Next, I removed the lower cowl and removed the #1 side baffle, the right lower air ramp and the right forward baffle all as one unit. I wanted to make sure I could get it off and on as an assembly before I riveted it together to make one large piece. Once satisfied, I match drilled all holes up to 1/8”, then match reamed all to #30. I also fabbed the little clips that attach to the aft portion of the side baffle and clip the two side baffles together. I dis-assembled all of the #1 baffle pieces and deburred all holes. Next up is edge finishing, priming and riveting.
|
|
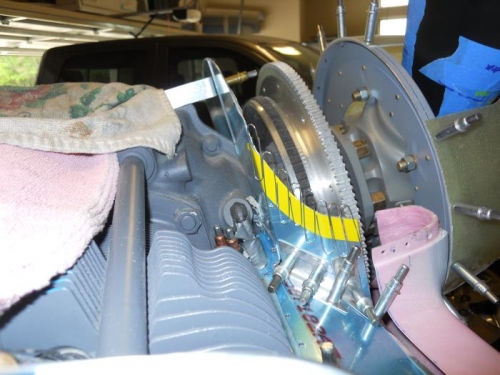
R. side-paper clips to mark final trim
|
|

L. side after final trim
|
|
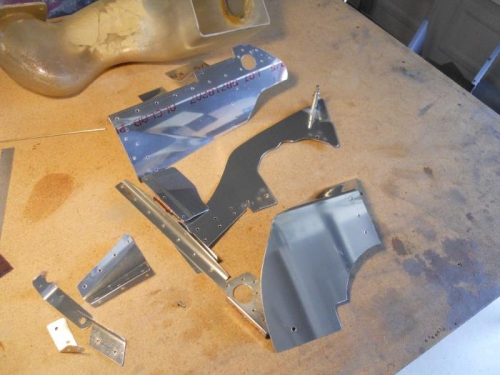
#1 baffle parts
|
|
|
|
|
|
|
|
|
Copyright © 2001-2024 Matronics. All Rights Reserved.
|