
|

|
|
|
Steve & Nancy Riffe
|
Date: 11-13-2015
|
Number of Hours: 5.00
|
Manual Reference:
|
Brief Description: Install R. flap fairing, trim R. wing fairing
|
|
I removed the right forward wing root fairing and trimmed it to the 3/16” line previously marked. It took a number of fitting, trimming and install before I got the required clearance. Next, I removed the right flap fairing and clamped it down on my bench. Made a gradual bend in the aft part that fits to the bottom of the fuse. Clecoed it back to the fuse. It took several “remove, bend, re-install” before I got the correct fit. I drilled the upper holes first, using draw clecos to secure the fairing. The draw clecos have a much tighter clamping power than the spring loaded clecos and I wanted as tight a fit as possible. Next, I drilled the lower holes, clecoing as each hole was drilled. I had to trim off the forward end of the lower part of the fairing in order to “nest” with the bottom fuse skin. When it was trimmed, the forward hole got cut off also. I laid out and marked a new attach hole. Removed the fairing, center punched the marked hole, and drilled to #41. Re-attached the fairing and drilled the final hole. Looks good to me. I started the same process on the left side and followed virtually the same routine as the right side. I still need to trim the forward lower part and drill one more hole, then should be good to go.
|
|
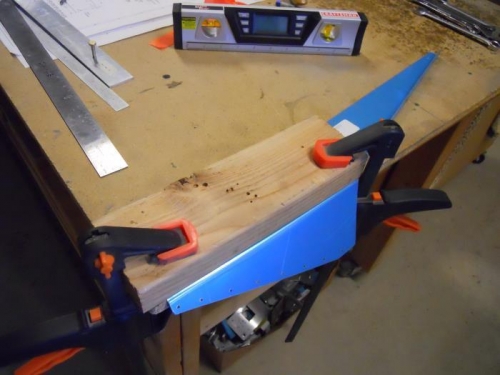
Bending right flap fairing
|
|
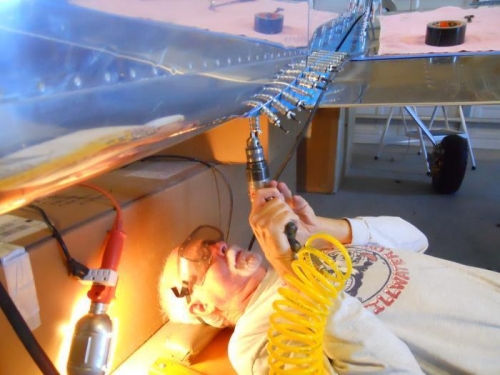
Me, drilling the flap fairing--got chips in gotee!
|
|
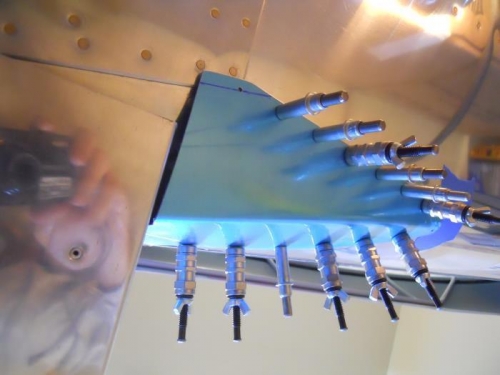
R. fairing-note trim line
|
|
|
|
|
|
|
|
|
Copyright © 2001-2024 Matronics. All Rights Reserved.
|