
|

|
|
|
Steve & Nancy Riffe
|
Date: 10-11-2015
|
Number of Hours: 4.00
|
Manual Reference:
|
Brief Description: Windscreen fairing-24
|
|
Part 2 of 2. After sanding the forward edge of the windscreen fairing using some 400 grit paper, I got the edge almost completely gone. I ran a new line of tape and shot a coat of sanding primer. After this dried, I sanded the fairing with a very fine sanding spounge. Yikes, discovered 4 pin holes. I sanded down these areas and applied some clear resin, working it with a credit card to fill the holes. After this dried, I lightly sanded and shot some sanding primer on these areas. Looks like holes were filled. I shot a second coat of sanding primer on the entire fairing. After it dried, I again lightly sanded, the applied a coat of primer. When dry, I lightly sanded and applied another coat of primer. After this dried, I lightly sanded and removed all tape. There is still a slight raised edge where the fairing meets the skin, so I used the extra fine sponge and sanded them just a bit. I can still feel a very slight edge—may just leave it for the painter. Where the fairing meets the glass, there is an edge the thickness of 1 line of tape. I’ll leave this for the painter also. In both corners, looks like some sanding primer bled under the tape—it’s very difficult to make a smooth curve and in the heat the tape tends to pull back slightly. I think I’ll use some plexi scratch remover to dress up these areas. Otherwise, I’m declaring DONE with the windscreen!
|
|
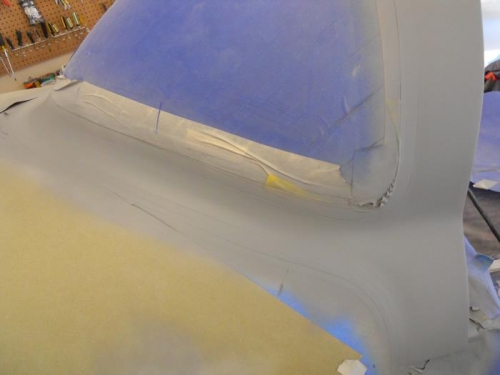
Shot 2nd coat of primer
|
|
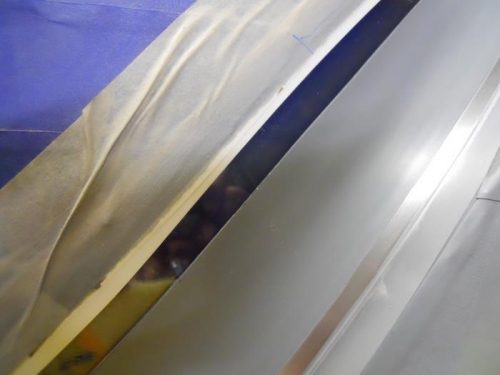
Pulled tape--looks good
|
|
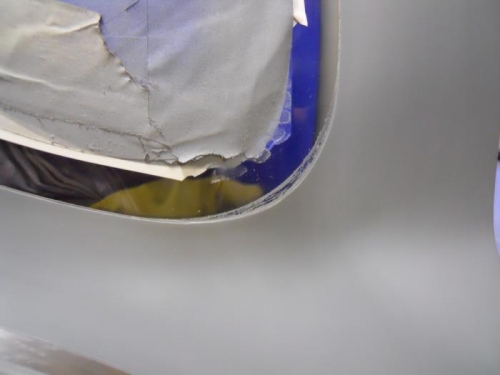
Corners need just a wee bit cleanup
|
|
|
|
|
|
|
|
|
Copyright © 2001-2024 Matronics. All Rights Reserved.
|