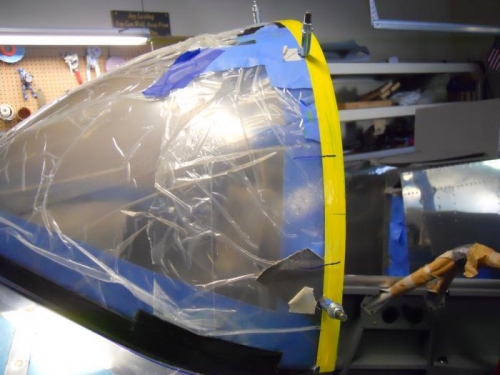
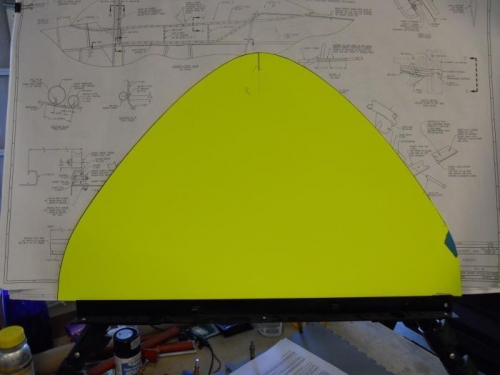
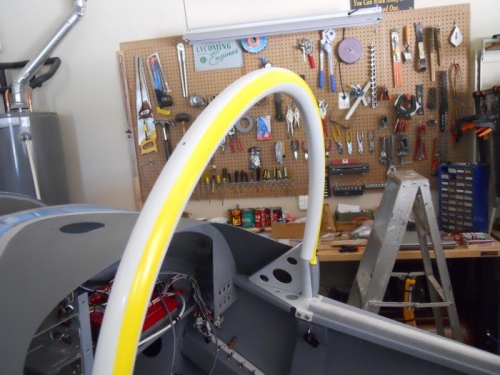
I removed the excess plexi from the windscreen using my bandsander—I did it 1/16” at time, rechecking after each cut. Finally got it cut down so that there is a 3/32” gap between windscreen and canopy when the canopy is latched shut. After the final cut, I used 400 grit sandpaper to remove all scratches from the edges of the windscreen. I taped a yellow poster board to the top skin over the glareshield area, the clecoed the windscreen back on. I marked the edge of the poster board, then removed it. I cut out the marked area and will save this template should I ever decide in the future to add some type of covering on the glareshield area. I ran a tape line across the rollbar on the front and back. Then I ran another line which overlaps the first by about 1/8”. After I add the Sikaflex—before it dries, I’ll pull the second line of tape. After the Sika is cured, I’ll add another bead as a cosmetic finish—then pull the first tape line. After adding two layers of tape on the front and back of the roll bar, I scuffed it real well—gives a good surface to bond the Sika.
Final fit of windscreen
Template for future use if I need a glareshield rug