
|

|
|
|
Steve & Nancy Riffe
|
Date: 7-18-2015
|
Number of Hours: 2.00
|
Manual Reference:
|
Brief Description: Glareshield paint
|
|
I had to get the shop cleaned up—had tools and stuff everywhere—was spending too much time hunting for things. After everything was put away, I vacuumed out the inside of the fuselage—plenty of filings, rivet tails etc. I re-installed the radio stack brackets and the fresh air vent. I placed the windscreen into position and drew a line around the outside, then removed the blue vinyl to about an inch outside the line. Put the windscreen back on and drew another line around the outside, then ran a tape line about ¼” inside this line. I followed by another layer of tape to butt up against the first layer. Removed the first layer and now I have the footprint of the windscreen less ¼”. I heavily scotchbrited then cleaned with MEK. Masked off the roll bar etc, and shot a coat of primer on the glareshield area. After the primer dried, I shot a coat of dark grey with a slight texture to it. After it dries, I’ll roll the fuse outside where I can get a good look at it in bright sun. If I like it, I’ll shoot another coat—if not, I’ll shoot with a coat of flat black. While waiting on the paint to dry, I began studying how to attach the windscreen and also looked plans for finishing the baggage door.
|
|
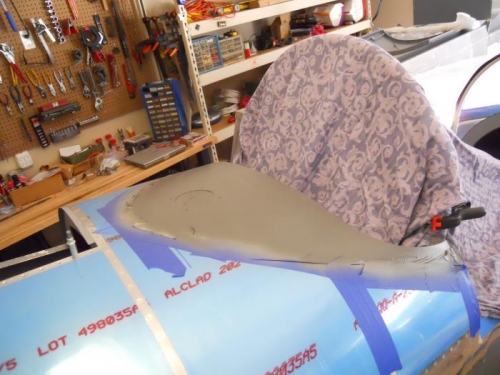
Primed & painted glareshield
|
|
|
|
|
|
|
|
|
Copyright © 2001-2024 Matronics. All Rights Reserved.
|