
|

|
|
|
Steve & Nancy Riffe
|
Date: 5-26-2015
|
Number of Hours: 5.00
|
Manual Reference:
|
Brief Description: Exhast hangars-2, heat muff
|
|
I decided I didn’t like the aluminum standoff on the back of the engine so I fiddled around with various angles, pieces and parts and finally decided the original mounts that came with the exhaust were good, but needed to be about 1.3” longer to make the geometry work. So, I found some 1/8” strap steel in the scrap pile and cut out a couple of pieces using a dremel & cutoff wheel. I believe these will work out much better. I put a bend in them about the same angle as the original parts. My new brackets aren’t powder coated but do have a nice coat of primer on them. Bolted everything up—clearance is ok with engine mount—time to move on. I assembled the heat muff over the #3 exhaust pipe, but when I was all done, the muff wasn’t tight enough around the exhaust, so it was fairly easy to rotate. The directions acknowledge that this might happen, so the remedy is to drill out the mounting holes in the end caps to #27. If you are reading this, I’d advise to drill them out before you begin assembly. So, I took it all apart drilled up the holes, put it all back together. Now the muff does not slip. I also received some de-hydrator plugs from ACS today-installed them in the top cylinders. Nice and purple for now-hope they stay that way for several months.
|
|
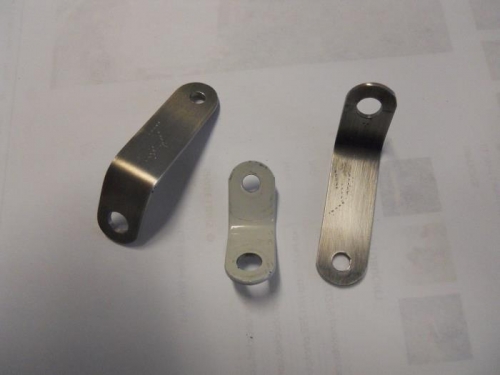
New brackets for exhaust hangars
|
|
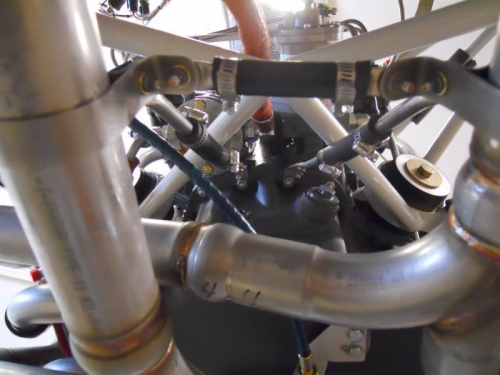
View from below-done!
|
|
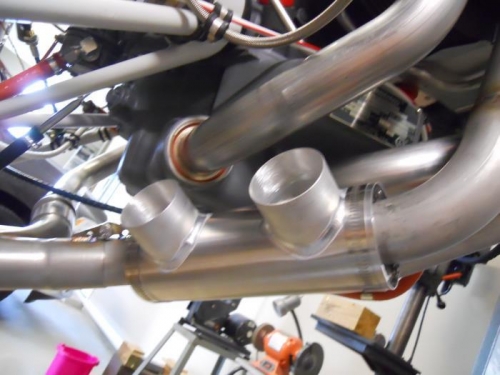
Heat muff installed
|
|
|
|
|
|
|
|
|
Copyright © 2001-2024 Matronics. All Rights Reserved.
|