Finished filing the panel cut out for the radio stack. Looks like I have a pretty good cut on the panel—trays fit nicely. I used a 1” angle on the left side of the stack, but used ¾” angle on the right side. I had previously drilled the mounting holes for the left side—I laid out and drilled a couple holes on the right side. With the angles in place, I added the radios with trays. I propped up the back of the trays to get them perpendicular to the instrument panel. I marked a line on the trays on each side of the mounting trays. Removed the radios and using the trays as a guide, I marked the mounting holes on each angle. Hmm, looks like the ¾” angle will have a minimum edge distance issue. The trays use a #6 screw to attach the tray to the angle. Minimum edge distance should be .276”, but have only .230”. So, I fabbed a piece of 1” angle for the right side and got it drilled to the panel. Now I need to go thru the same process as earlier to get the trays marked for mounting holes.
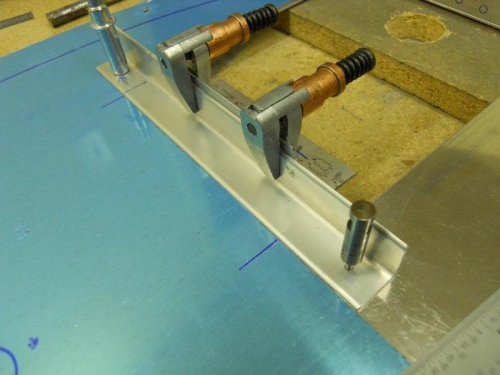
Used a tranfer punch to mark panel
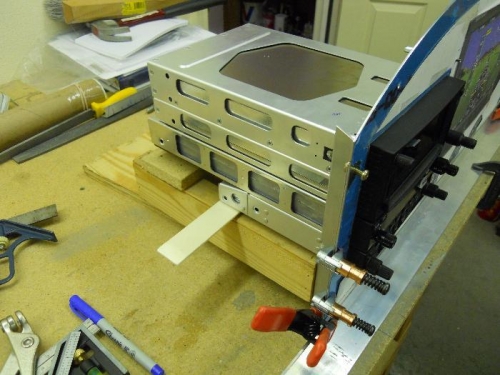
Avionics trial fit to panel
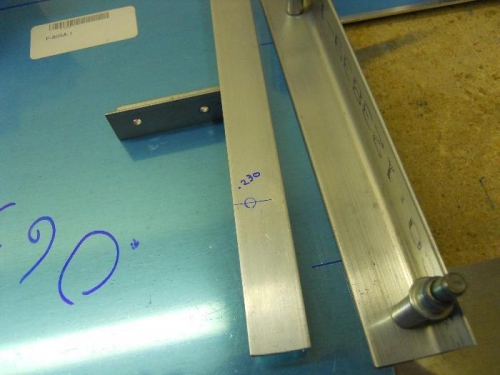
Replaced 3/4" mounting angle with 1" on the right side