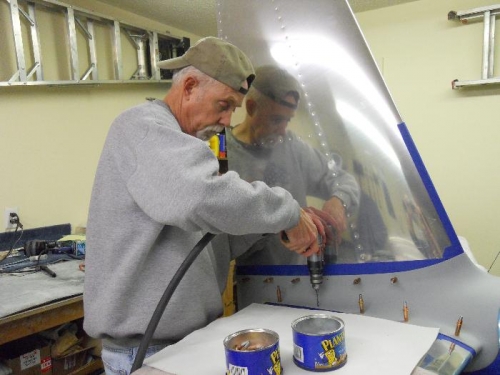
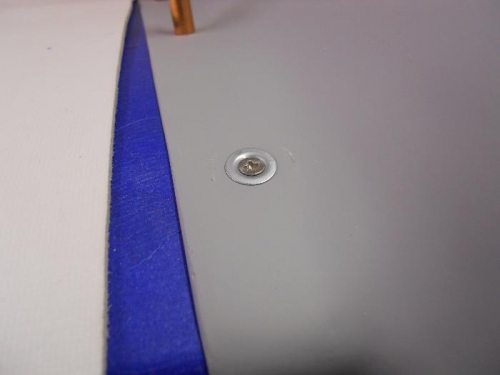
I installed the fairing, and began drilling out holes. All of the upper holes were drilled to 1/8” followed by a #28 drill. Then I drilled out the 2 aft most holes that attach the fairing to the longeron with a #36 drill. I couldn’t drill the forward hole—don’t have a #36 bit for the angle drill. I will drill it after the HS is removed. After all of the upper holes were drilled, I went back and machine c/s them using the glass & skin as a guide for the c/s cutter. The glass is pretty thin and In order to get the c/s deep enough in the fiberglass, the cutter took a slight cut in the skin. Checked each c/s as I went using a tinnerman washer and a #6 screw. Now it’s time to remove the VS & HS and install some nutplates.