
|

|
|
|
Sonnys Web Site
|
Date: 6-20-2008
|
Number of Hours: 55.00
|
Manual Reference: SEC 7
|
Brief Description: Rudder Skins
|
|
Picture 1
Final -drill all the holes common to the R-1001 Skins and rudder skeleton with a #40 drill. When drilling the R-1002 Spar and R-1006 trailing edge, start in the middle of the span and work towards the ends. Drill holes of the trailing edge perpendicular to the chord line of the rudder, not to the skin
Piture 2
Step 4- If the skins "pillow" between the screws, drill a #30 hole directly between the two screws into the skins and the counterbalance weight. You might get lucky and hit the hole already in the weight but, if not, you have a matching hole anyway. We did not get lucky!
Remove the two screw and drill out the hole just drilled in the weight with a #19 drill(only the skins are riveted, the #19 hole in the weight provides clearance for the body of the rivet). Deburr the skin holes, dimple for a 1/8"flush rivet, and replace the hardware. Install a CS4-4 in the dimpled hole.
Step 5- Rivet the remaining twelve matching holes in the skins, top rib, and counterbalance rib with the rivets shown in fig 3 (AN426AD3-3)
Picture 3
Roll the leading edge of the skins according to the instructions in section 5J. However try 1-1/4 inch pipe. Also due to the size of the rudder is is easier to roll one section of the leading edge at a time. Begin by rolling the section of leading edge closest to the counterbalance rib, then roll the middle section, and finally th4e section closest to the horn.
|
|
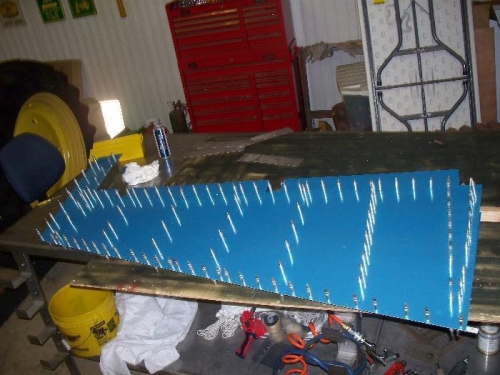
Clecoed Rudder skin
|
|
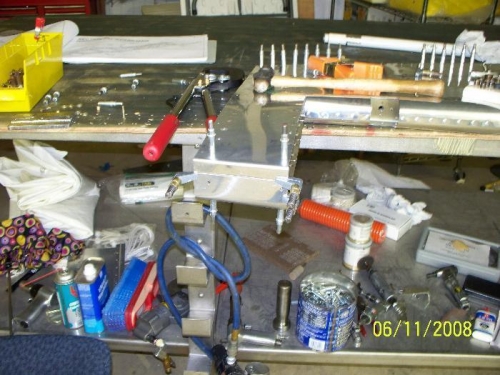
Counter Weight intall
|
|
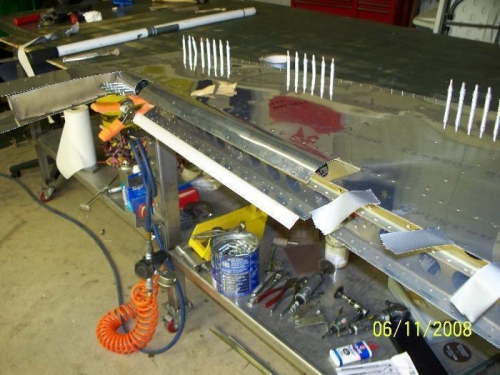
Rolling the leading edge
|
|
|
|
|
|
|
|
|
Copyright © 2001-2024 Matronics. All Rights Reserved.
|