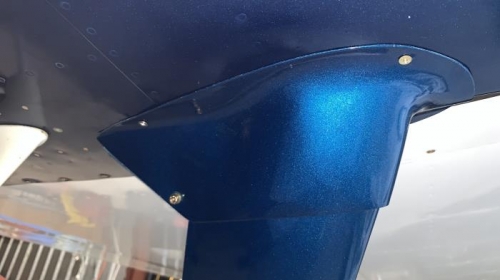
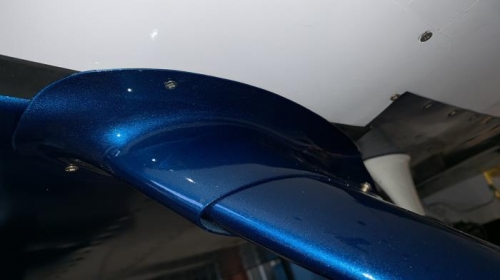
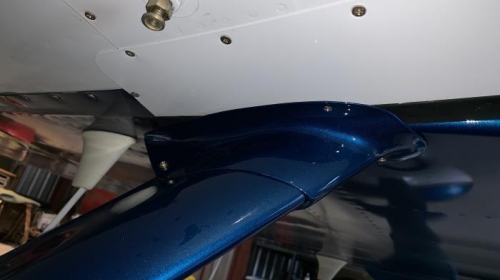
I had two things to attach the fuselage interface fairing. I had to drill a hole and screw in the outboard side. This hole went into the aluminum wing to body fairing. I used a rivnut here to screw in. Later I've discovered mechanics don't like rivnuts and so I may change this to a platenut later. But at least it is inserted into aluminum. I squeezed them into place and they feel solidly attached. iThey are number 6 screw which I think is enough for this fairing. But if a platenut goes on later it will be a number 8. I put only one screw on the outboard side because the fairing doesn't protrude far enough outboard for another fastener to fit into the wing to body fairing. It feels solidly attached. The inboard side has 2 #8 screws going into platenuts in the fuselage. I put these in a long time ago when first building the fairings.
Then I also need a screw to clamp together the aft end of the fairing. I just inserted a number 6 screw with washers and nyloc nut. This isn't flush, but strong and I couldn't figure out a way to have a flush fastener. You can see this at the aft end of the fairing.