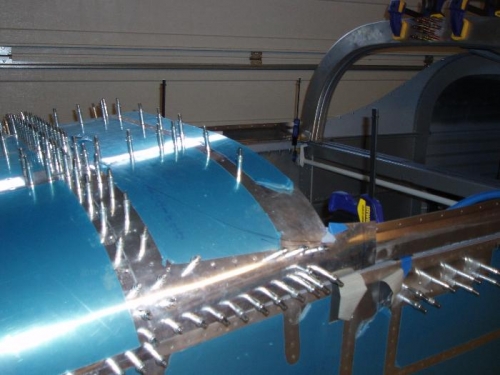
But, you might recall when I drilled the side rails to the forward frame on the bench it didn't fit when I put it on the fuselage. So before I drill the other holes thru the skin with the braces I put the whole frame back on the fuselage and clamped it in place.
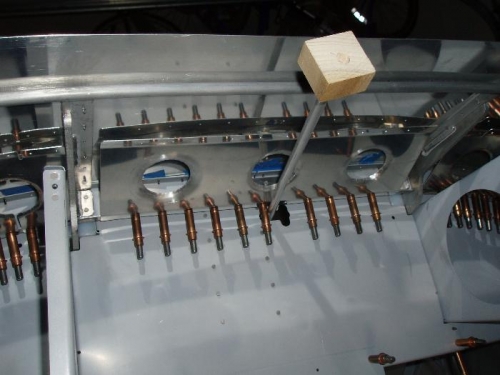
Then I put some boards on the floor of the fuselage and climbed in. I laid on my back, held the braces in places with fingers and drilled the holes thru the skin. I clecoed as I proceeded.
All the holes came out fine except one (two, one on each side).
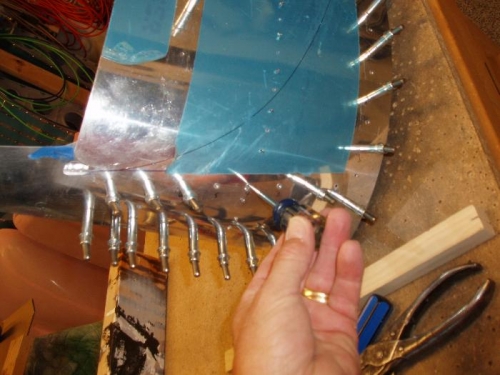
LESSON LEARNED: The hole shown in photo 3 below with the awl in it should NOT be drilled using brace as location, but rather use the existing hole which is already there to drill down thru the tab of the brace. Too late for me. I have two closesly placed holes. But I think it would work to just use the exist hole.
I will probably glass over these anyway so they won't show.